So, you may remember an intro post waaay back in the day on some bikepacking bags made by a small company called Porcelain Rocket. Well, rest assured they have not been sitting in a box gathering dust. Rather I’ve been waiting until I had more miles on these bags than most people put on bikepacking bags in a year (Tour Divide riders excepted) they have at least 1200 miles of hard riding on them Including a week of being soaked with salt water and being punished by the brutal Baja sun as well as a 400 mile off-road MTB race called the Stagecoach 400 add into that several overnighters plus the 150 – 200 miles a week I was riding with the bags while training for the Stagecoach and you have quite a pile of miles and a variety of loads I asked these bags to carry.
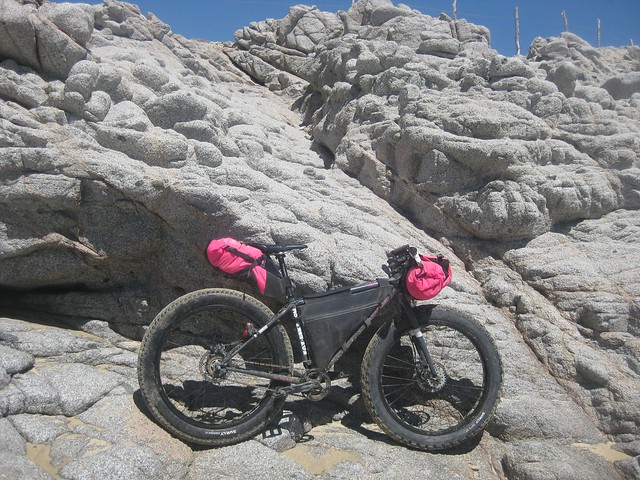
The Bags in Baja
I’m going to split this Review into 3 sections 1.Durability, 2.Ease of use, 3.Tips and tricks / Things to remember.
Lets get started.
1. Durability – In my opinion durability is probably the most important feature of a bikepacking bag (assuming the thing fits on your bike) these bags are going to see hard use on even the shortest of trips. You stuff them full and unlike road touring bags they get subjected to rocks, roots, drops and falls all the time, not to mention getting soaked in seawater / river crossings as well as sitting out in the sun all day.
So, how did these bags hold up? In a word Incredibly – They took all the abuse I could throw at them and came out looking great. In my opinion the bag that really shows off that durability is the seatbag, I had this thing packed totally full for our Baja trip, a weeks worth of clothing + a full tool kit along with all sorts of other odds and ends, this means I was in and out of it all day grabbing a piece of clothing or a bit of gear. The rolltop setup worked perfectly allowing you to really compress the contents (more on that later) as well as keeping the sand and sea water out. If the seatbag takes the most abuse, the bit on the seatbag that takes the brunt of that abuse is the rail attachment system, I’ve had bags like this slip down and even start pulling stitches out after a big drop or crash but not this guy. Here is a picture of the attachement system after 1200 miles of abuse.
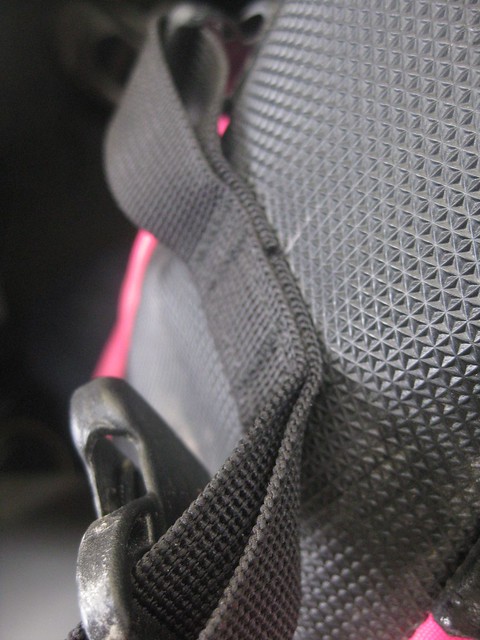
Still looks like new huh? The buckles stayed nice and tight, not loosing their adjustment throughout the day which has been a problem with even a normal size seatbag you might keep a tube and Co2 in. The rubberized fabric on the top was great as well protecting the bag from wearing on the back of the saddle.
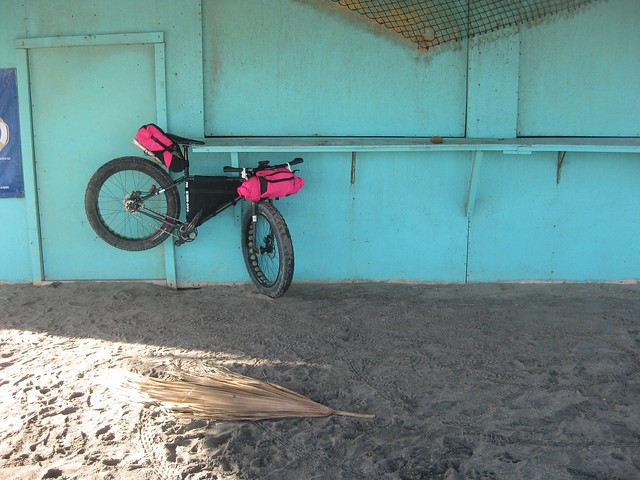
The handlebar bag stood up just as well, really the only thing that looks different about these bags after all that abuse is the fabric has slightly faded, The sun in Baja is brutal and as my skin can attest will wear anything out. Check out this fade.

Look for the triangle of fade in the center of the bag
This obviously has no real effect on the bag, just showing it in case you decide to order a Vibrant colored bag and expect it to remain pristine throughout your AZT tour or something like that. On that note though, I do have to recommend you get bags with a bit of color to them, it really adds a nice custom touch to your ride and makes the bags stand out in a sea of otherwise boring black and grey bags.
2. Ease of Use – Even if it holds together its no good if it can’t hold all your gear.
Once again these bags did not disappoint, here I think is where the handlebar bag really shines. Scott designs his bag to take an Outdoor Research 10l dry-bag inside his handlebar bag. Sure you add a bit of weight but knowing that even if you dump your bike in a river you are going to be sleeping in a dry sleeping bag is worth the extra weight to me. (obviously you can leave the drybag behind and pack straight into the bag as well) You also remove 10-15 minutes of fiddling with straps and bags every day, you just pack your sleep gear, clothes, etc, etc into the dry-bag compress it, and then shove that into your already mounted handlebar bag.

Shove the dry-bag in and roll the ends shut.
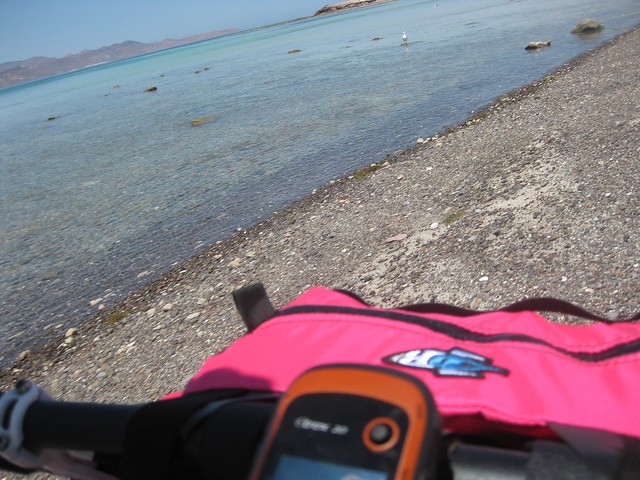
The Gear pocket is great as well. It detaches without affecting the adjustment of the handlebar bag which was super handy, I stored all of our Electronics, maps and passports inside it so loosing it would have been really bad. With this system we were able to detach it and carry it into stores and restaurants with us without any messing about. I would add a smaller zip pocket on the very top of this bag for a SPOT tracker just to keep it facing up and out of the way of the other gear in the bag but these being custom bags obviously Scott could do that if you asked, I just didn’t know I wanted it until it was too late.
See the shoes under the seatbag?
The last thing I want to talk about is the sweet little shock cord setup on the bottom of the seatbag, it really is a perfect spot for your camp shoes. Beware though if you are riding a ton of rough singletrack, tighten that cord down, or even better tighten it down and put a small carabiner through the cord as well as the shoes so you don’t loose em. I got a bit lax about 3 days into our Baja trip and was just shoving the shoes in without tightening down the shock cord. Sadly I lost the shoes on a crazy rocky jeep trail descent. (I think I did at least) Now I clip the shoes to the shock cord with a carabiner so that even if they do fall out I don’t loose them.
3. Tips and Tricks / Things to Remember – Stuff to think about
So, obviously I really like these bags but there are some things you need to remember when using them or really any bikepacking bag setup.
Beware of wear – Velcro is really abrasive, I had the velcro around the headtube set up so that some of the hook side rubbed, this shredded the paint off the headtube in a few days. Once, I noticed I flipped the Velcro around and pretty much stopped it but keep an eye out when you first set your bags up so you aren’t killing your paint job. Obviously, you are going to end up with some wear but you can really minimize it with careful setup, keep the bags tight, movement causes wear.
Pack it Tight – I threw all sorts of stuff in the seatbag throughout my testing, sometimes carefully packed, other times just shoved in on the trailside (other riders jackets and armwarmers) this is all fine and good but remember to pack heavy stuff low and in the front of the bag and make sure to compress clothing down tight as even a bit of compression while riding can cause the seatbag to sag and get caught under the rear tire. This happened to me twice, once after a stair drop and once after hitting a big rock on a 30mph fire road descent. Luckily, nothing worse than an unplanned skid happened. Both times were soon after I had quickly stuffed some clothing into the bag and hastily rolled it shut. Take your time and make sure the bag isn’t sagging when you roll it shut.
Don’t Overpack – spending 20 minutes rolling your sleepingbag + your bivy + your sleeping pad up into the smallest ball ever and stuffing it into a drybag on your floor at home is fine, doing that after 3 days on the trail in 30mph winds and rain is another thing altogether. Be realistic about what you can fit into a bag, things have a way of expanding and migrating around the bike while out for a multi-day trip. Also, busting a zipper can really put a damper on things so think before you zip up that bag.
Final Thoughts – If you are looking for a set of custom bags I really can’t recommend Porcelain Rocket enough, Scott takes the time to listen to you and will build pretty much whatever you are looking for. Expect to wait 10-12 weeks for a bag right now (early May 2012) but nothing good comes easy. No, I’m not getting paid to do this review and in fact I like these bags so much I plan on buying a set for someone else (hopefully she does not read this and spoil her surprise).
NICE WORK! Hopefully these will be in my future as well. cheers Cale.
I got a set from Scott this year and they are amazingly well built. Killer product and a good guy to deal with.
Good read, thanks for sharing. As to the abrasive nature of framebags/velcro, what I do is to tape the whole length of the tubes with transparent tape. Why the whole lenght? Because one gets dirt in between the bag and frame tube, this will strips paint like sandpaper.
Godspeed
Dusza