Back in December I wrote about my new Quiring fat bike (Achieving Fat-Bike Versatility). That article got into how the bike can switch geometry to suit different riding conditions such as summer and winter fat biking. This summer I have been exploring another aspect of the bike: A summer fat bike setup versus a 29er+ setup.
Once our amazing Northern Michigan spring snow conditions finally gave way to dirt, I switched the bike from its slacked out 69 degree head tube angle and mellow 17 ¾” chainstays with the Surly Bud and Lou to a more tight singletrack friendly 72 degrees and 17” chainstays with my 26er Dually/Husker Du summer wheels. I also yanked my gears off and went singlespeed because our trails tend to have all sorts of derailleur eating sticks for the first few months of dirt riding. Those changes flipped the switch from adventure mode to full-on rocket ship, providing a salve for my longing of crusty spring snow.
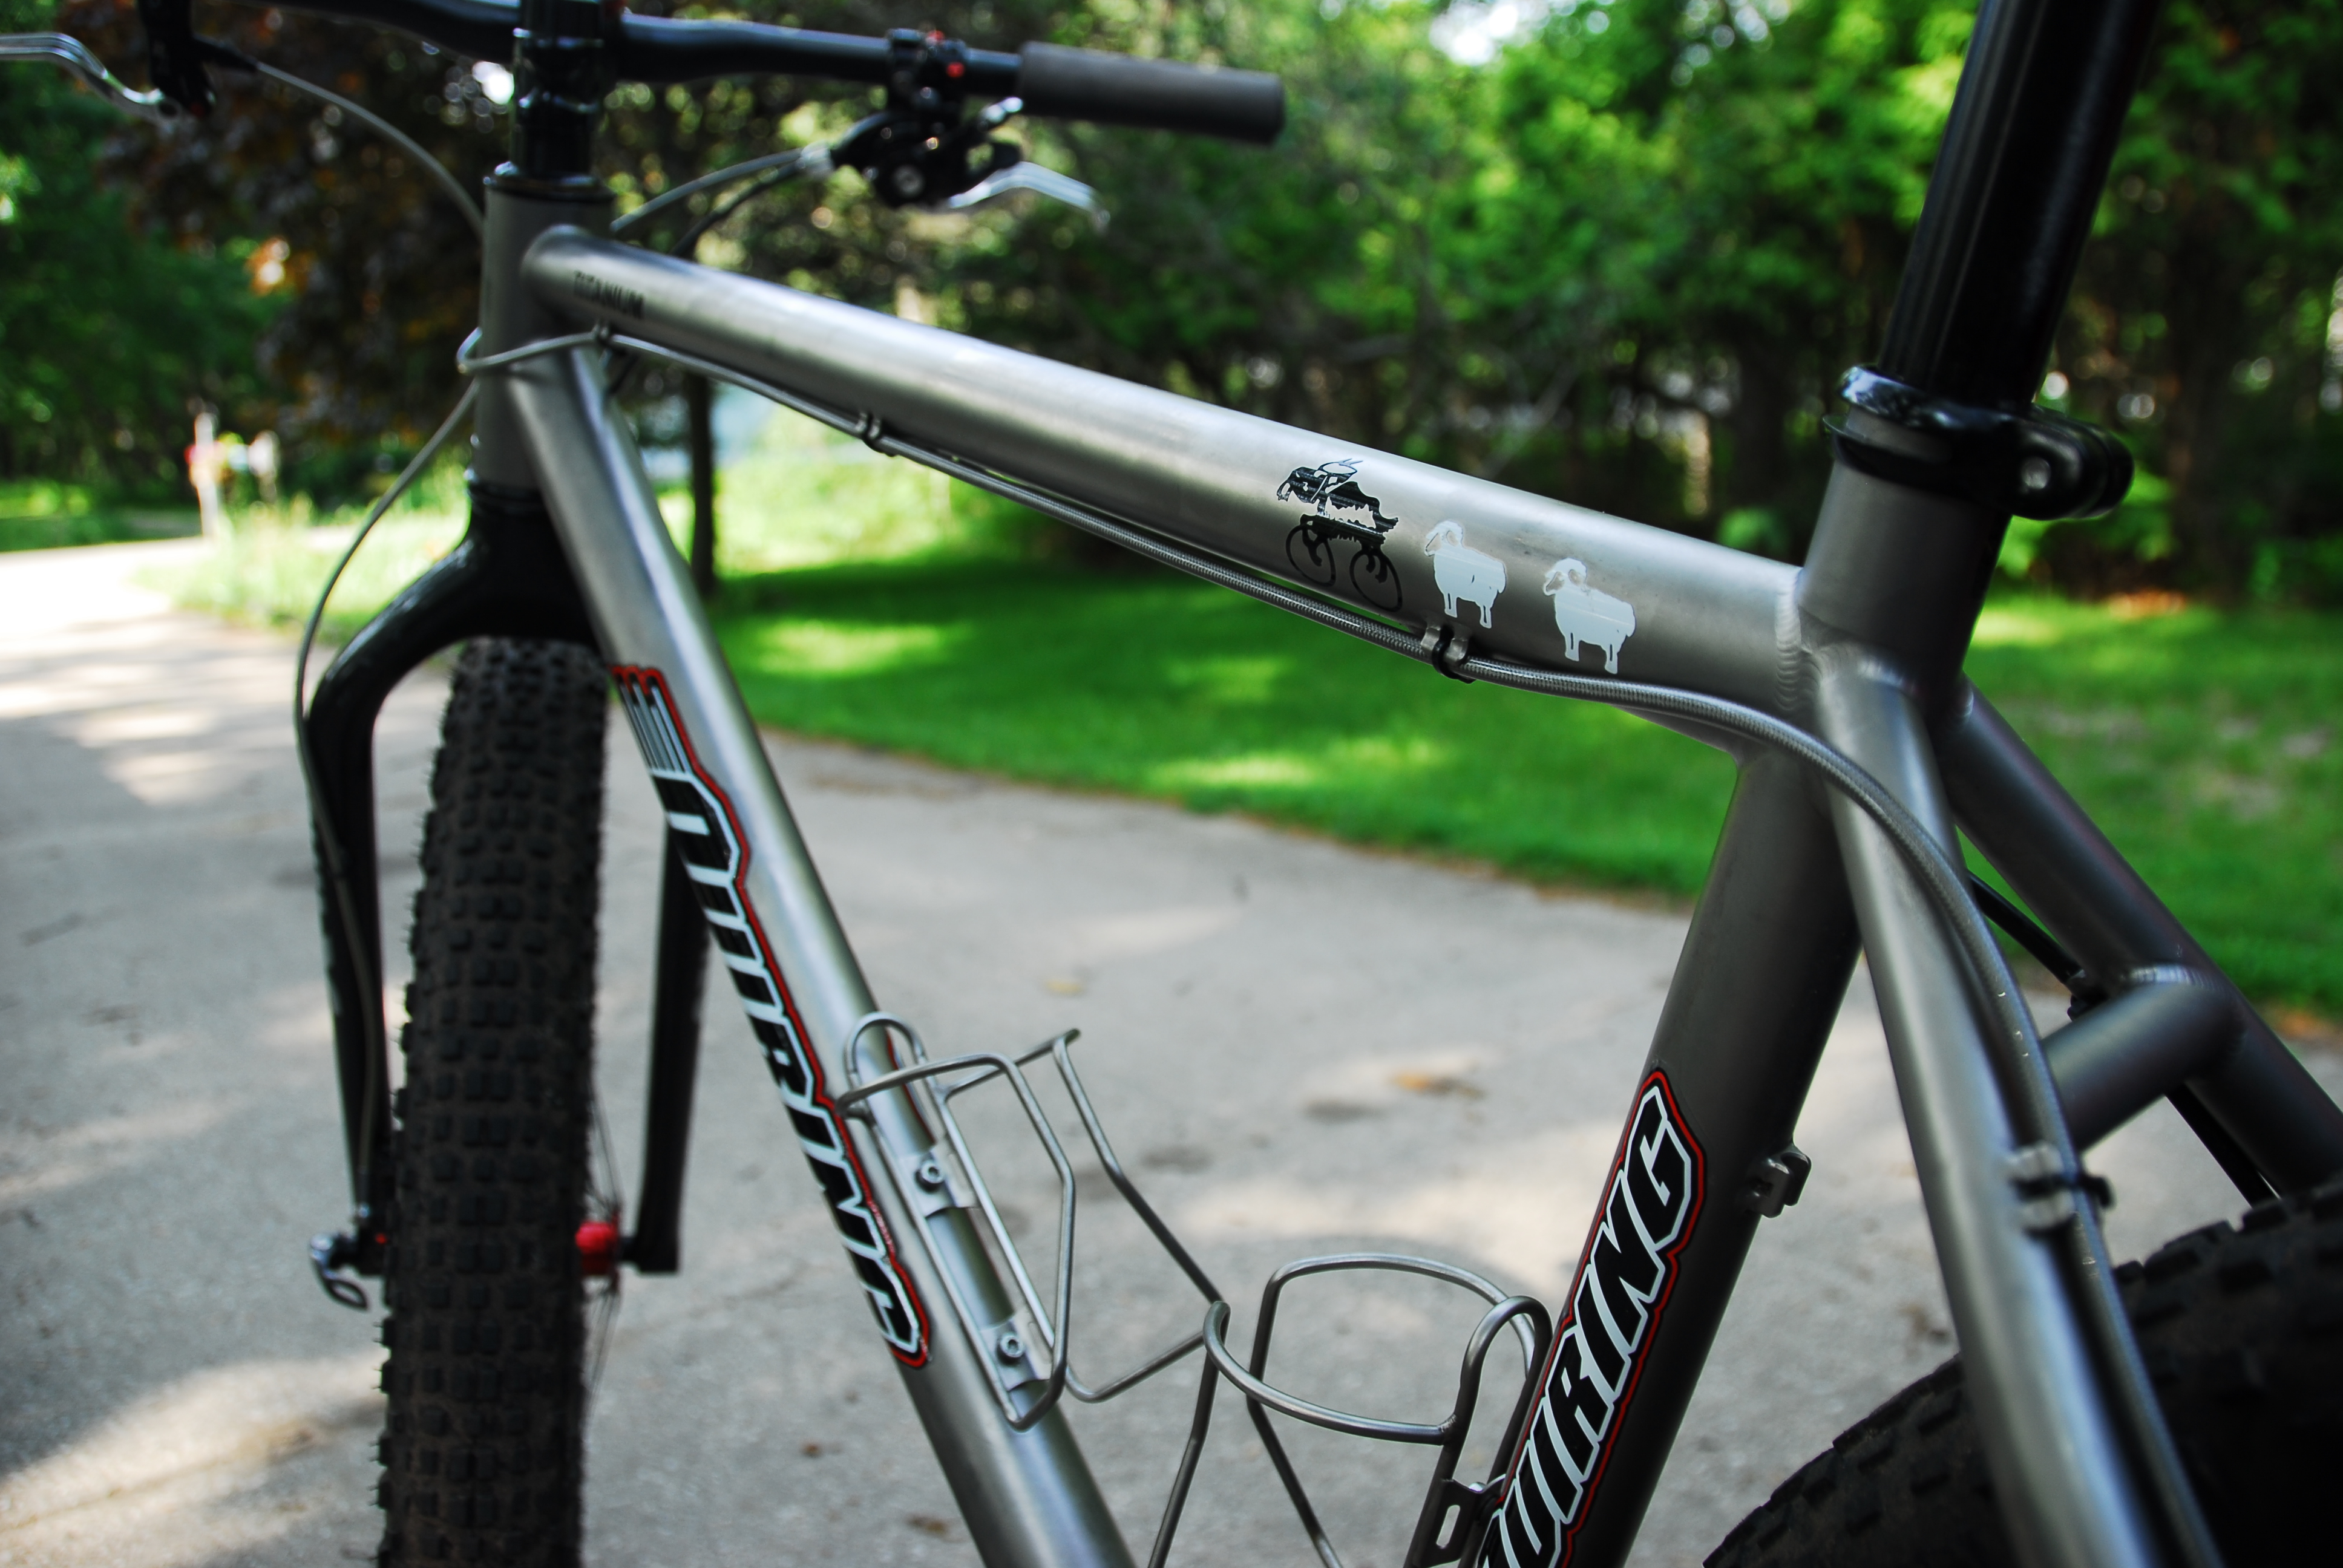
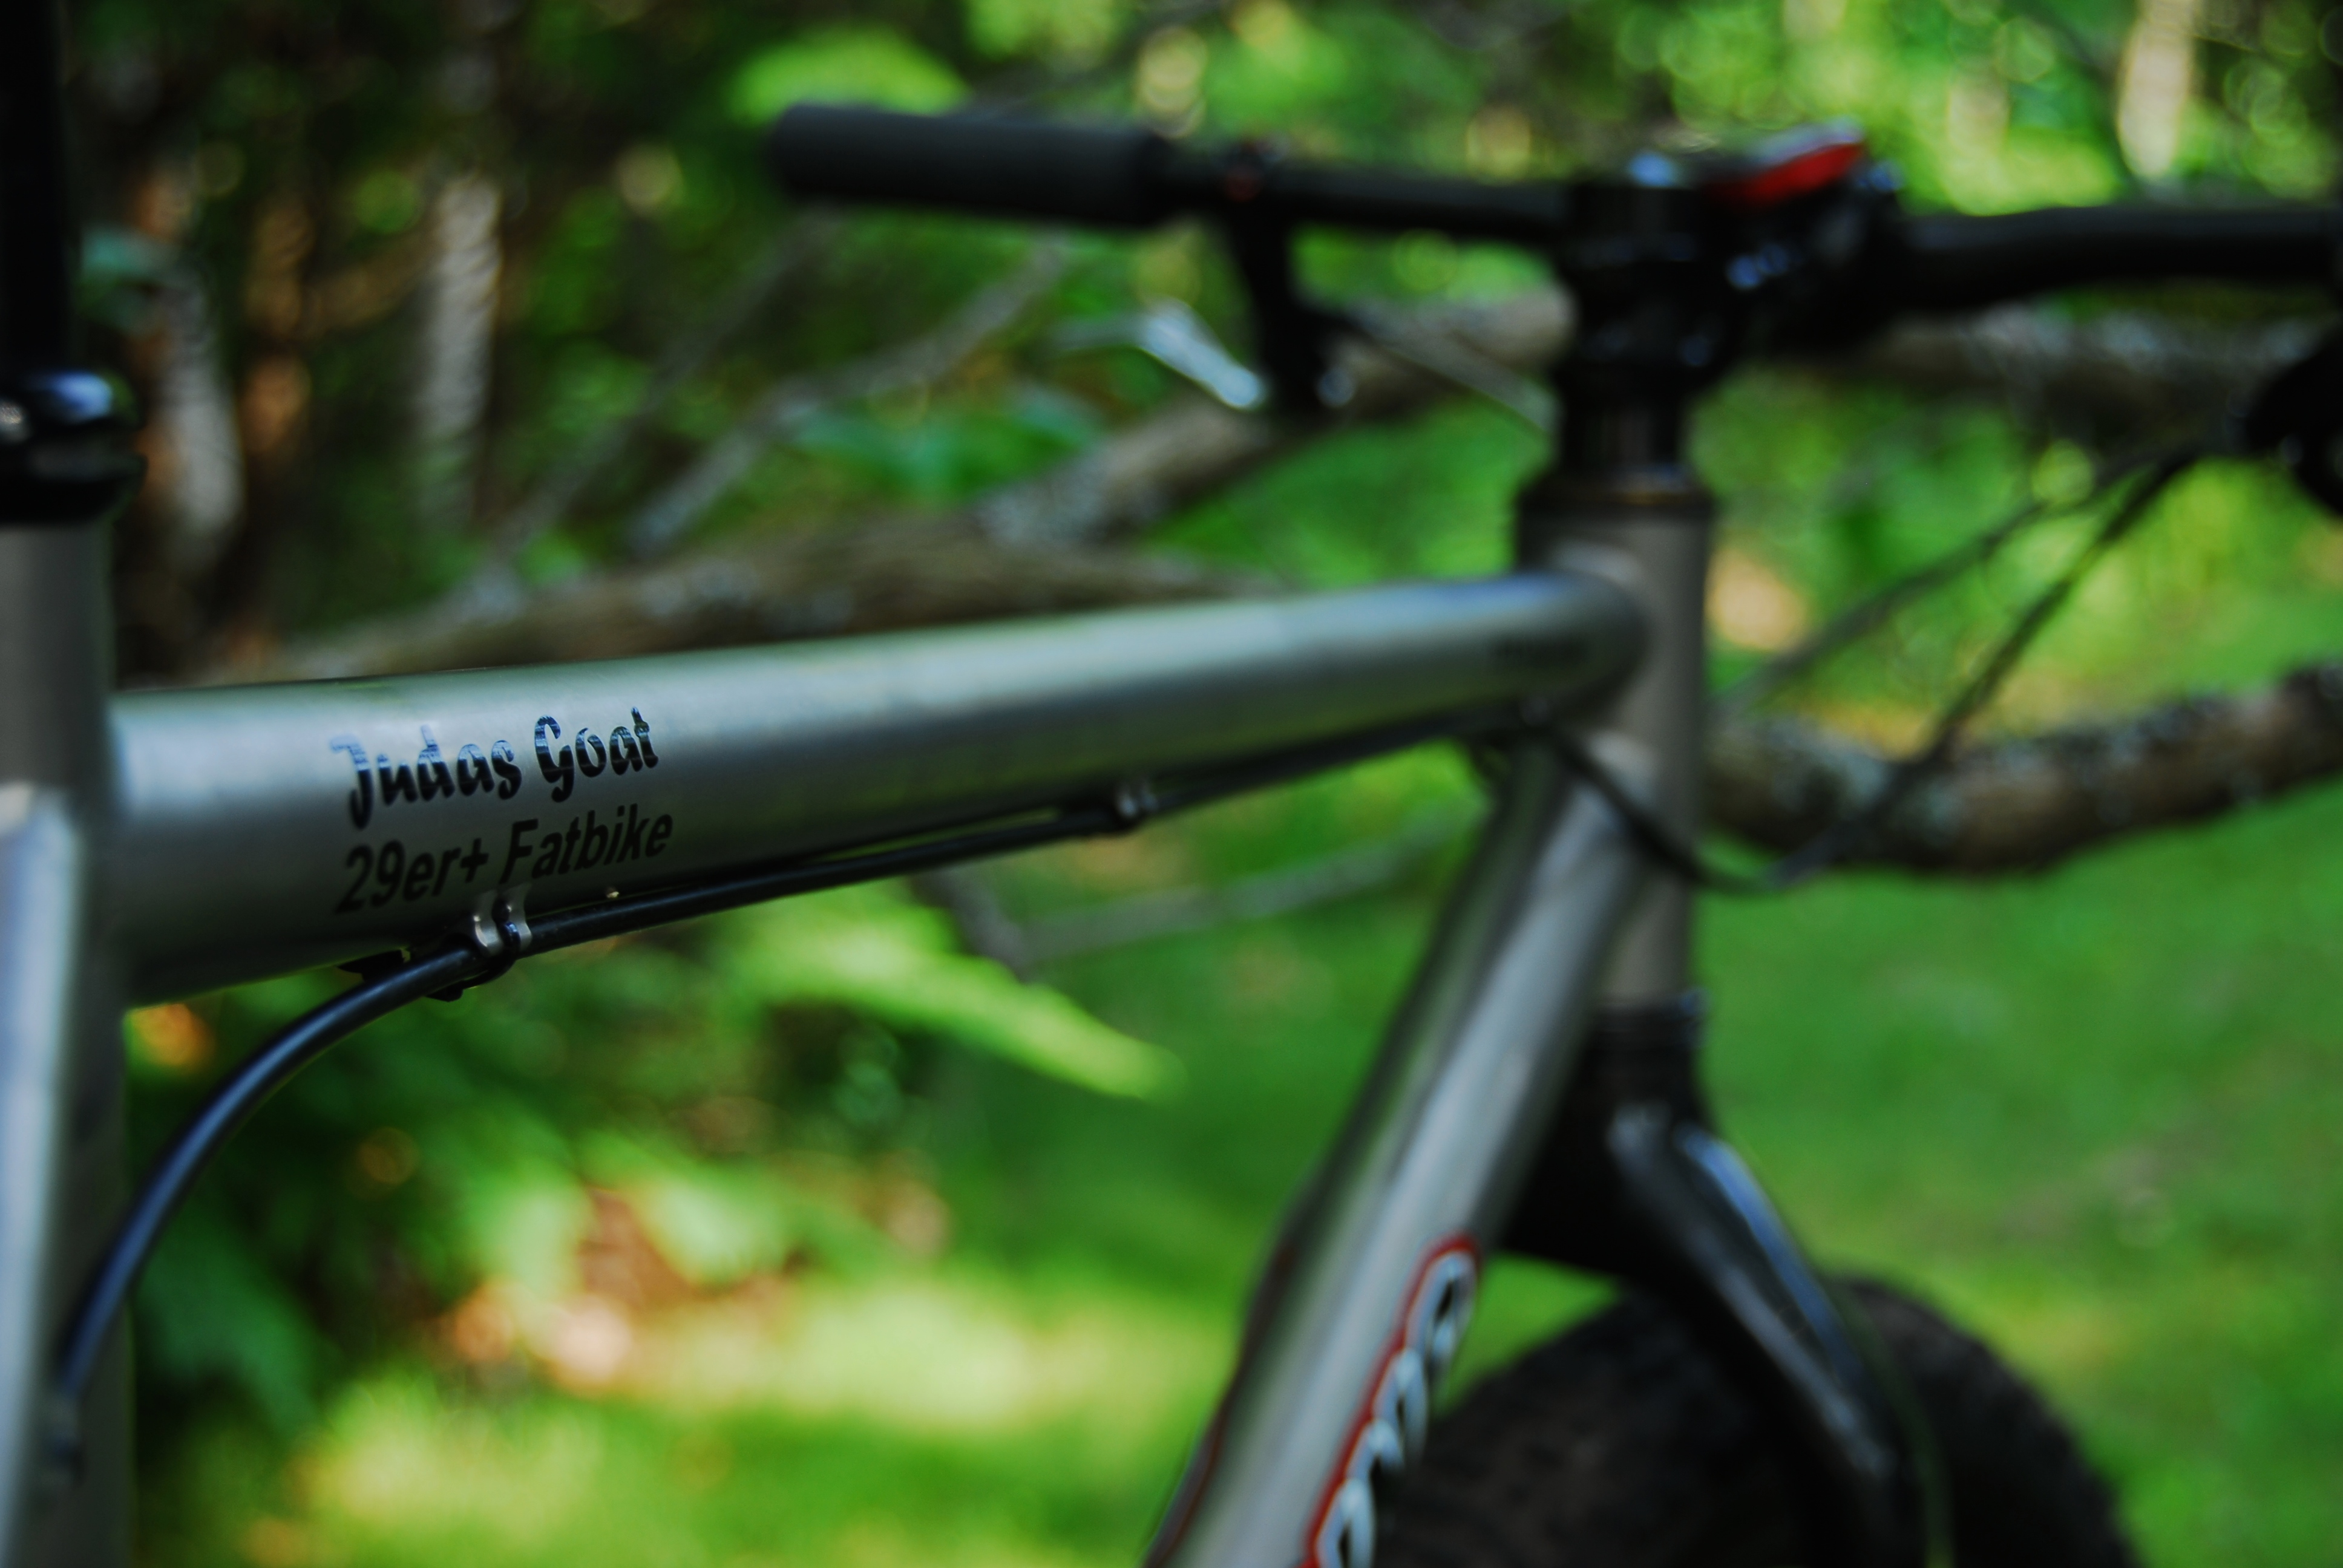
This was a sweet setup for spring riding because a bunch of the fat bike riders in the area decided to start getting ready to race the Lumberjack 100. It is a 100 mile race on one of our local trails. Most people were planning on switching over to their 29ers for the race but I had other plans of staying nice and plump through race day. Sadly, not long into the spring, disaster struck when my frame builder and bike rider extraordinaire, Scott Quiring, decided he was going to switch from his fat bike to his SS 29er. While the Fat-Bike.com audience might think that his bike choice was the disaster, the real issue was when he tried to follow me downhill while I was on my fatty and he was riding those silly little pizza cutter wheels. Eight broken ribs, a fractured elbow and some great painkillers later, Scott had a name for my bike: The Judas Goat. I had led him to slaughter like a hapless sheep.
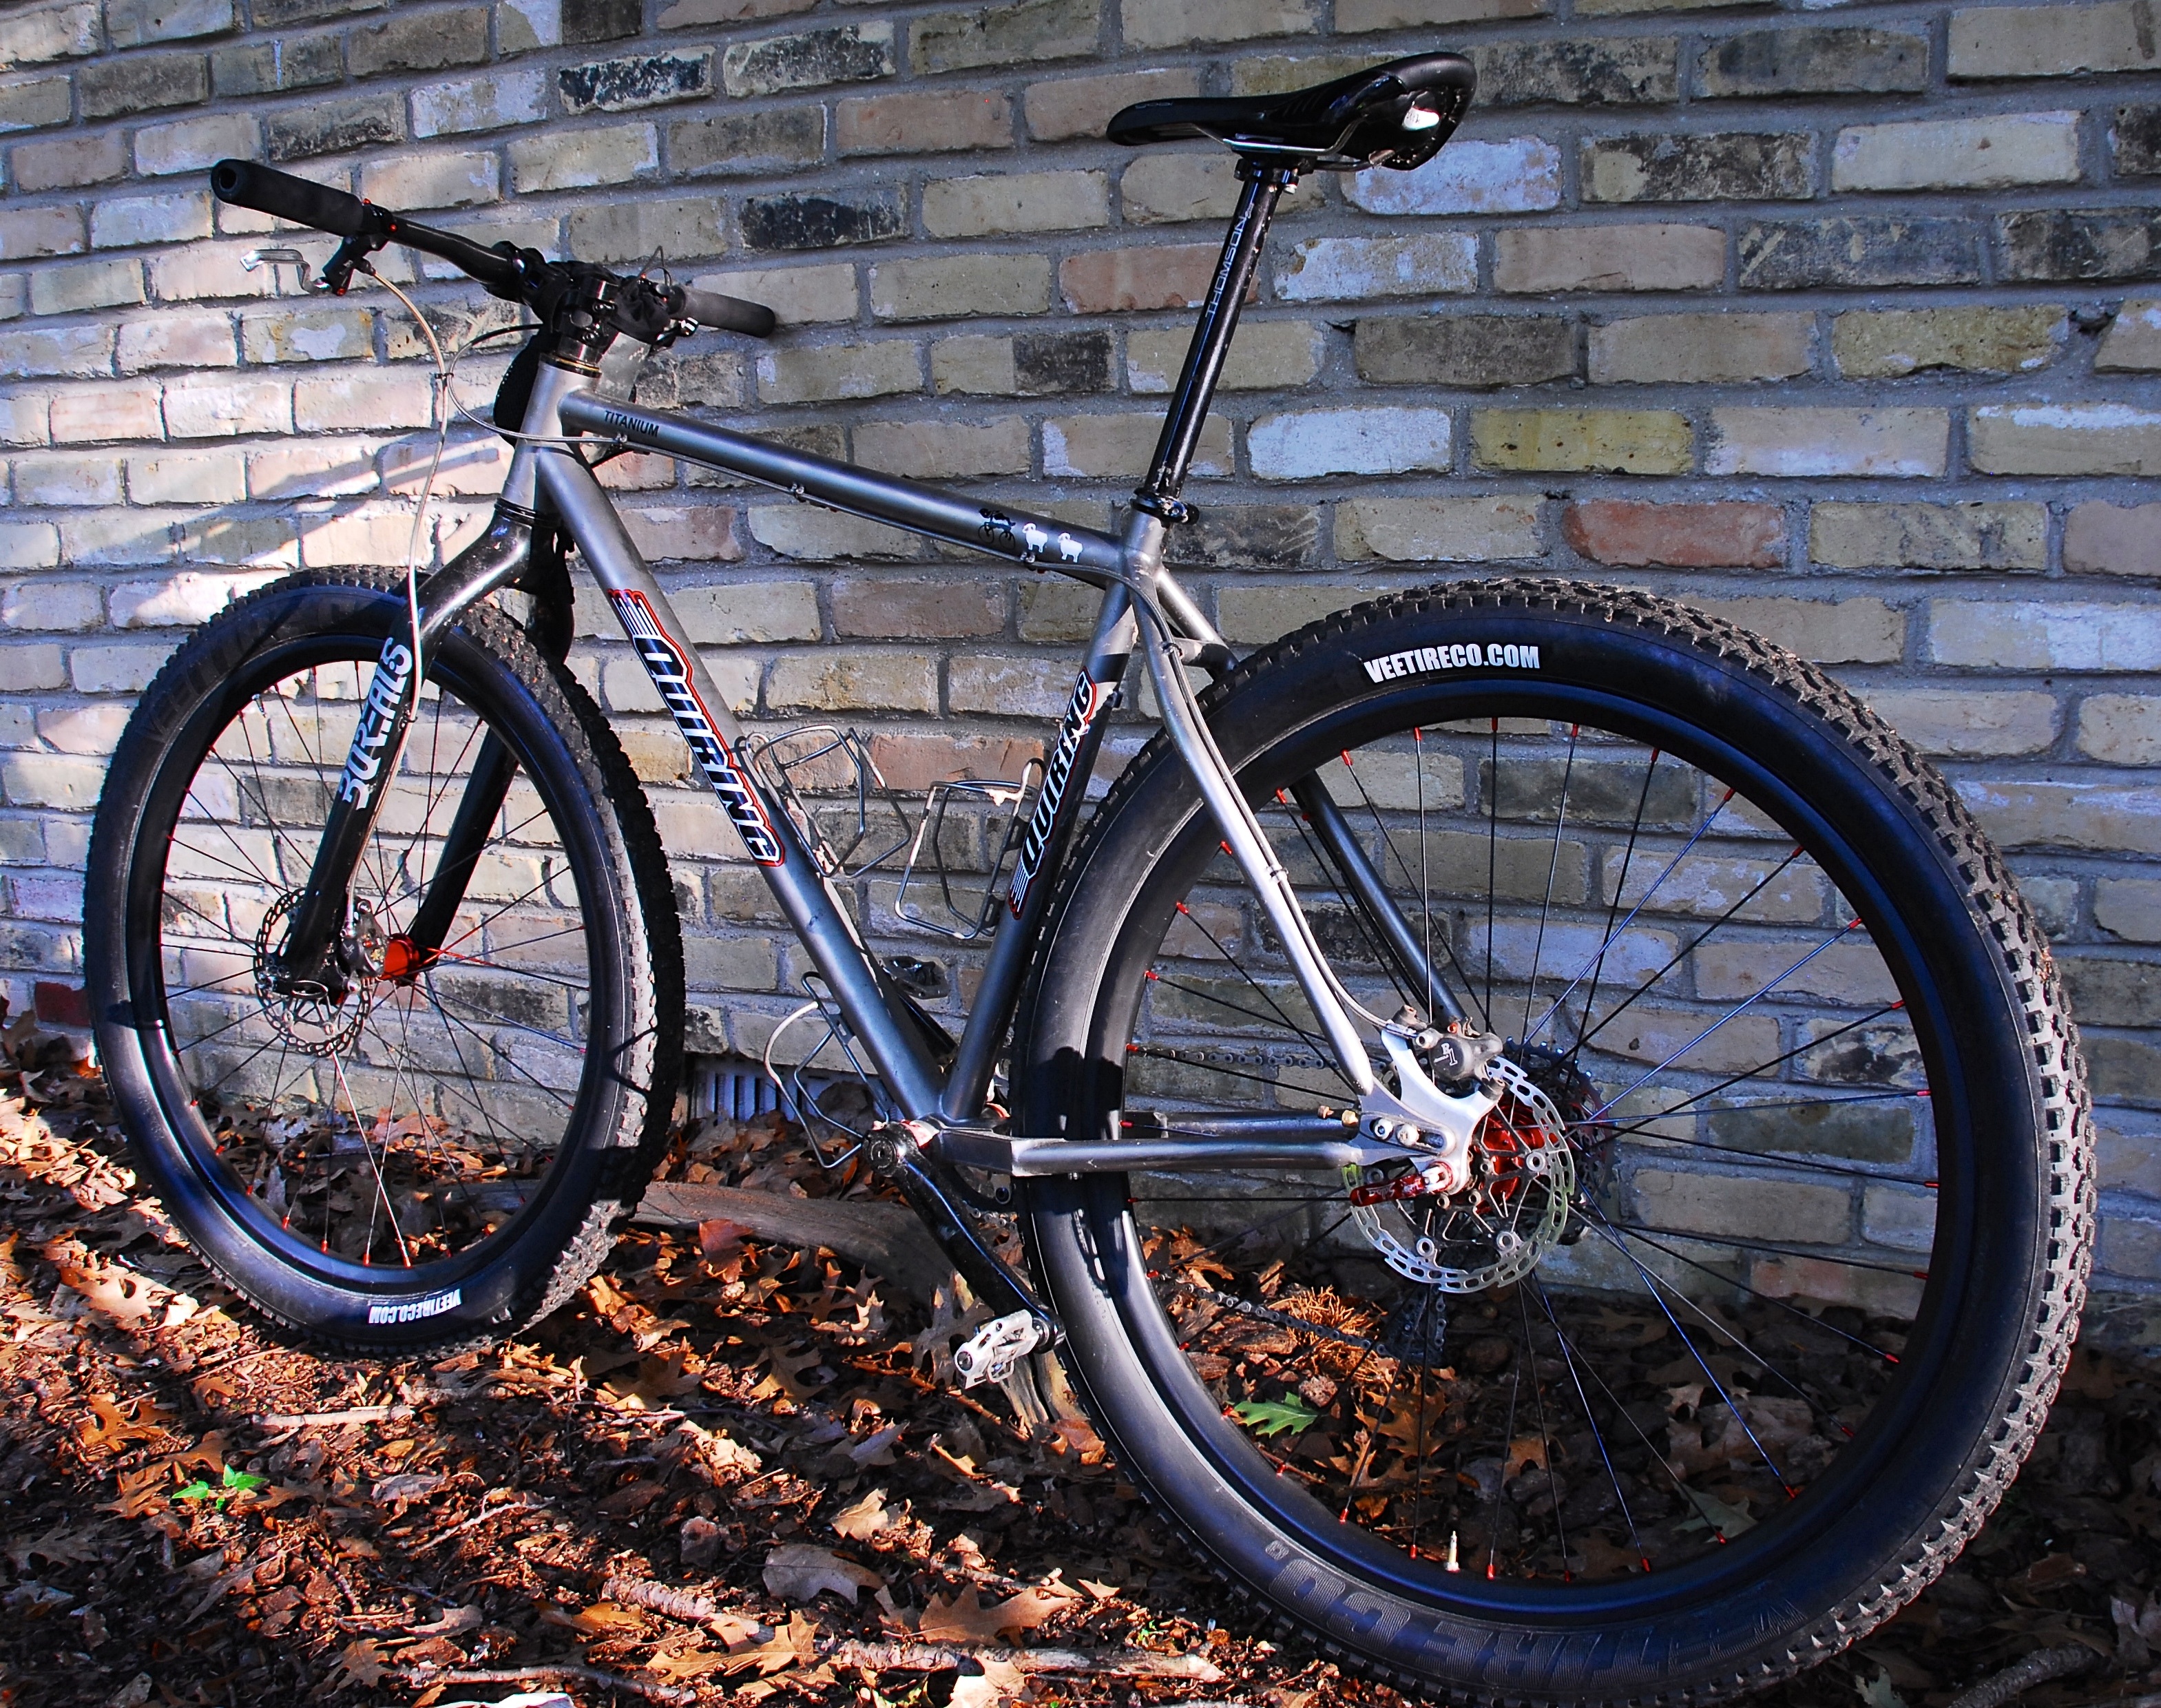
While that crash had sidelined Quiring, my riding continued to ramp up for the Lumberjack 100 and in late spring I decided to deploy the next phase of my bike experiment and build up a set of 29er+ wheels. I had been hearing about how fast rolling and smooth 29er+ bikes were and the Lumberjack is a flowy, sandy course that seemed like it might suit the 29er+ characteristics. Only one way to find out!
I wanted to see how the performance of 29er+ wheels could do compared to “normal” bikes so needed to go with a lighter setup than the Rabbit Hole or Duallys would allow. After a lot of research and internal debate I finally settled on using Light Bicycle carbon rims. This is one of several hookless carbon rims that are available for all mountain 29er applications and have an external width of 35mm. I didn’t want to be an “importer” but at the time, all those sources for similar rims were either not available or were too narrow. Eventually, I took a deep breath and ordered directly from Light Bicycle in China.
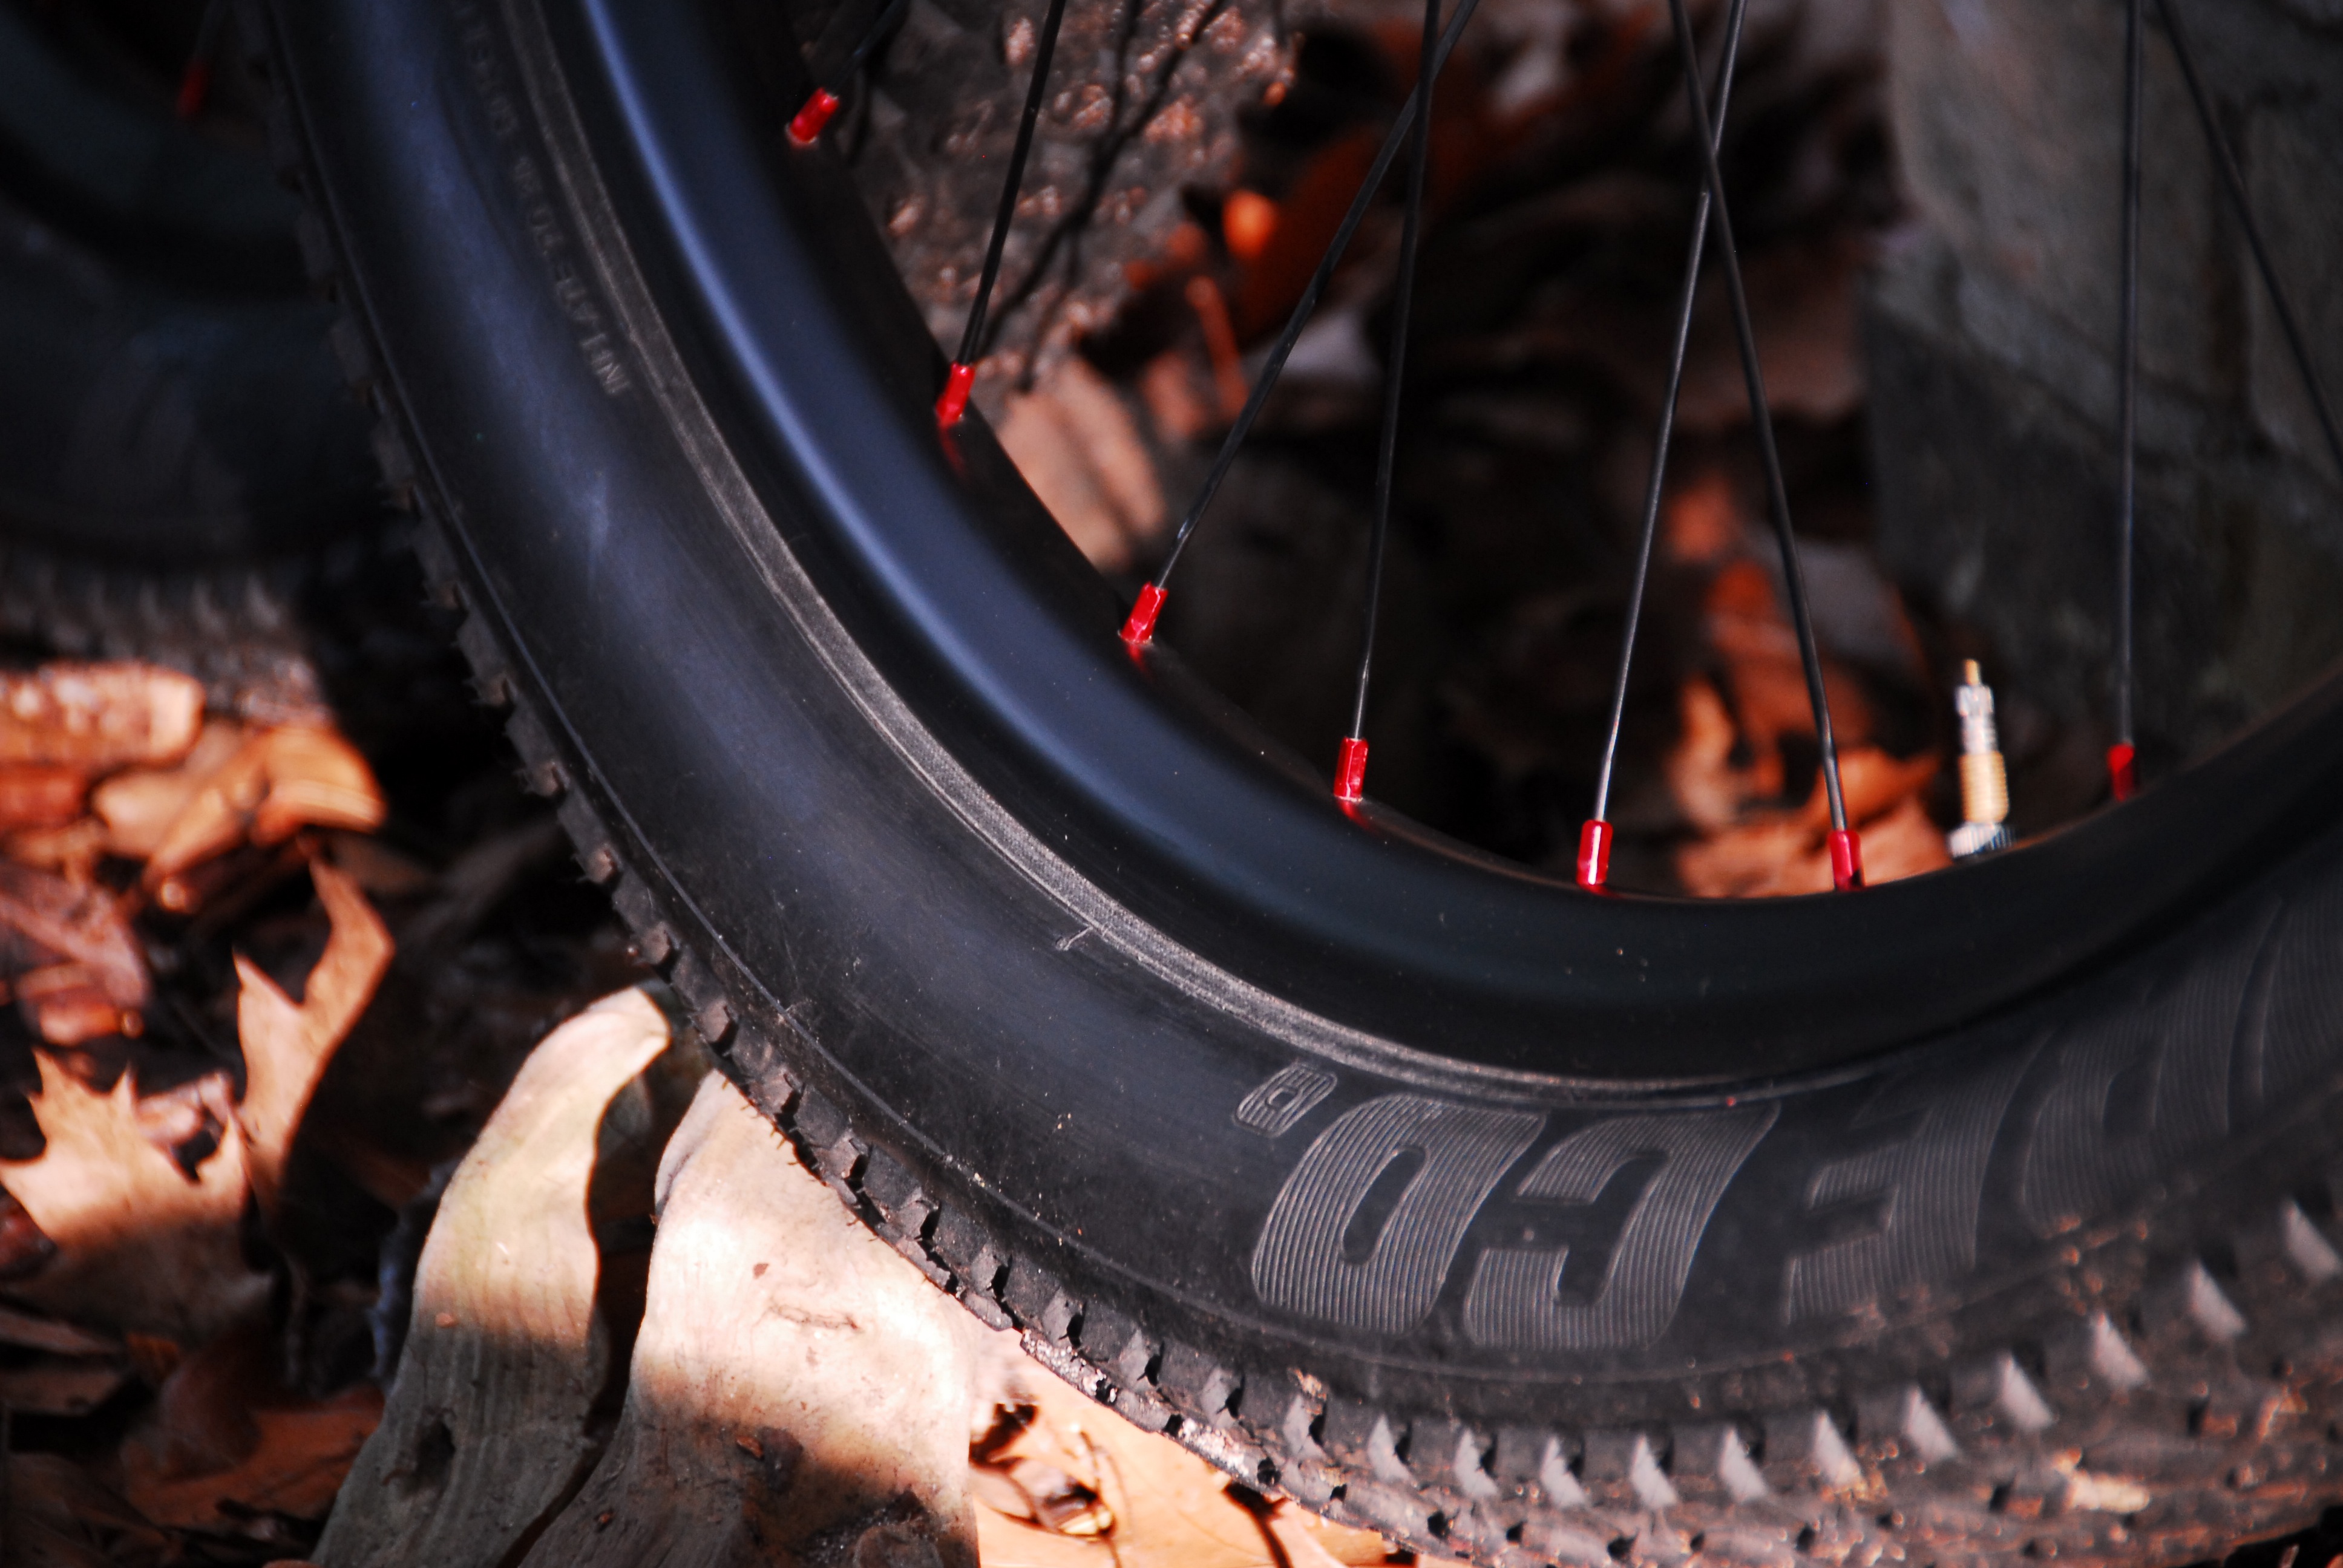
Upon arrival I was really pleased with the results. The rims came just as they were supposed to weighing in at 415g and had great finish work. You can order them in a variety of different finishes and I got mine in unidirectional carbon and a matte finish giving them a stealth look. I laced them with 32 Sapim CX-Ray spokes, alloy nipples and Industry Nine hubs for a total wheelset weight of just over 1,600 grams. The Knards went tubeless super easily with a single layer of 30mm wide WTB rim tape. Casing width came in at 70mm and the knobs were at 76mm.
The Ride
Right away on the first ride, I started to flashback to when I switched from a 26er to a 29er. The big wheels just seemed to roll with little resistance and the ride is super smooth. All of a sudden I felt less beat up after a 6 hour ride than I did after a 4 hour ride on my 29er or fatty.
I will just cut through all the BS and say, 29er+ is FAST! Yeah, there is an element of the “different horses for different courses” that applies with that statement and there are probably a lot of conditions where a 29er+ is inferior to a 29er or fat bike but in sandy Northern Michigan, the 29er+ is a tough setup to beat on trail. It feels as fast as a traditional 29er on singletrack and far faster if things get soft and sandy. Once you get the pressure right, the cornering traction is very similar to a fat bike. The big place it lags is trying to accelerate the heavier tires but if you ride someplace where you can leverage the traction to rail corners and stay off the brakes, the 29er+ is going to be the setup to beat.
Another big positive I felt with my setup is the stiffness of the wheels. The combination of stiff carbon rims and wide 135/170mm hub flanges makes for a super stiff wheelset that really comes into play when throwing around the bike in tight trails or flirting with the edge of traction on railing corners. Add in the high bottom bracket and I can pedal far into corners, stay off the brakes and then get back on the gas quickly opening up gaps on pizza cutters.
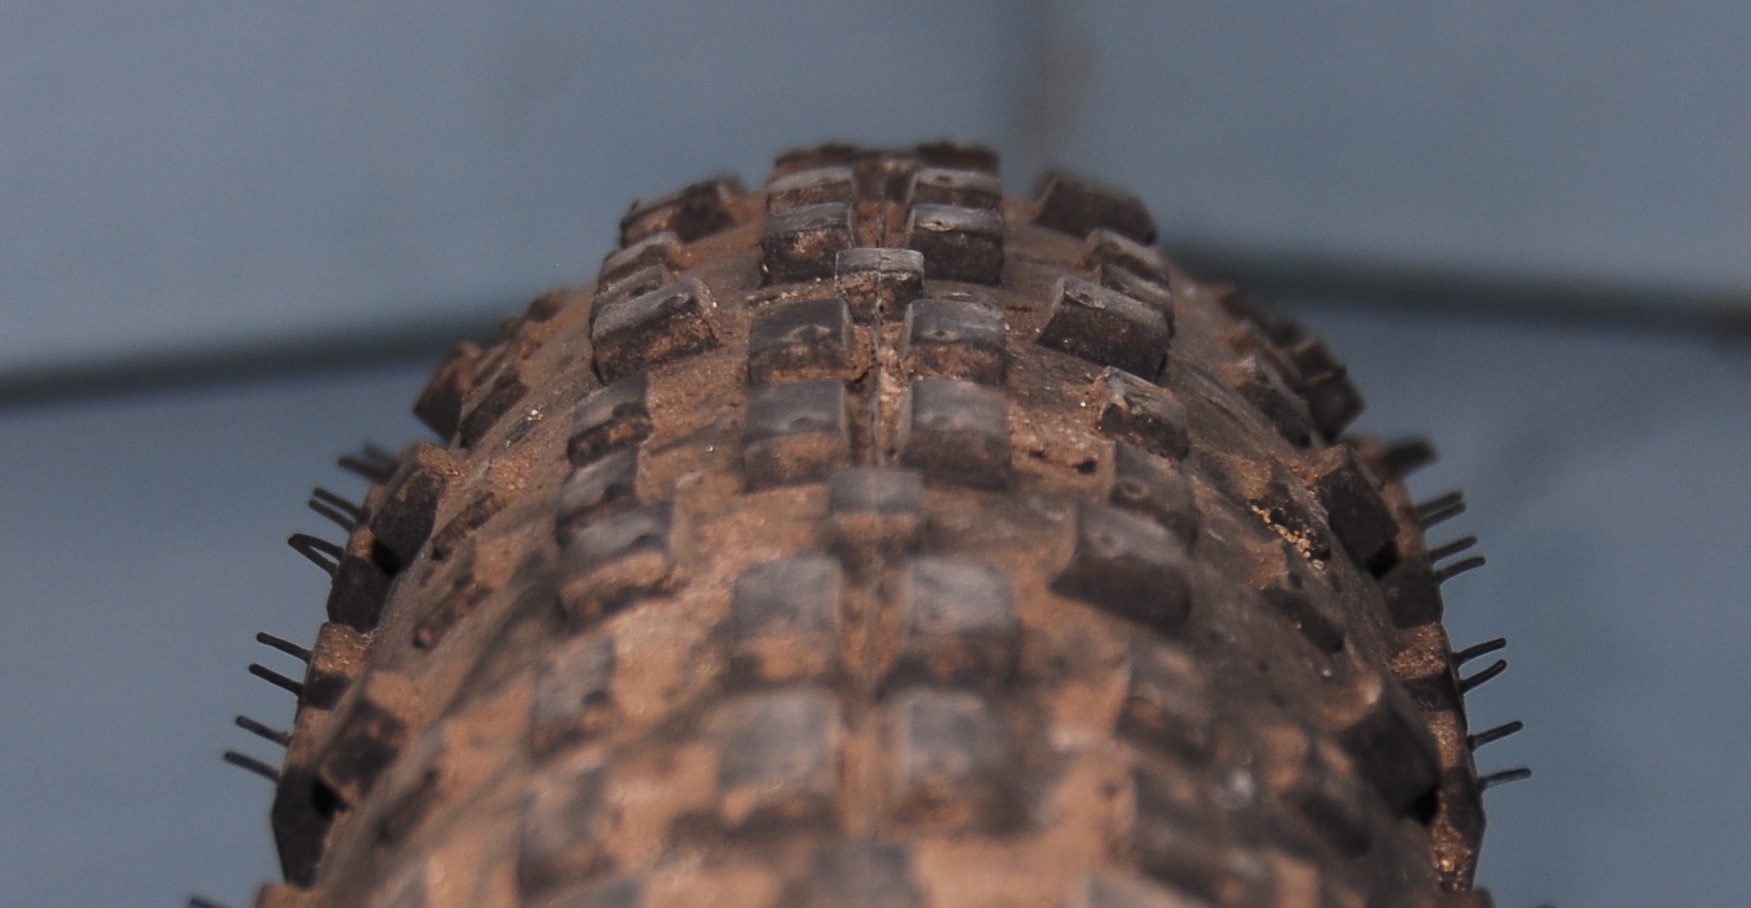
Tire pressure was something that I really had to work to get right. The knards don’t have a lot of knob in the transitional zone between the center tread and side knobs. Because of the narrower 30mm inner width rims, the tire profile is more rounded than it would be on a wider rim. If pressure is too high, there was this transition point when starting to lean the bike over in corners. There was far less cornering traction because you are predominantly relying on those short transitional knobs. Lean the bike way over and it would hook up again but it can feel super sketchy initiating a turn with higher pressure. After several rides I finally figured out the sweet spot for pressure where the contact patch got large enough to keep either the center or side knobs in contact with the ground when in the transitional cornering angle. For me, 12psi was the max I could run in the front tire but if I got below 11psi, I started getting tire roll and rim strikes. The rear tire pressure is a little less sensitive allowing a range of 12-14psi. Knowing this is great but now my inner bike dork came to the fore and I have to use a pressure gauge to get my pressure just right every stinking ride. Hopefully, future tire options will be less pressure sensitive on skinny rims.
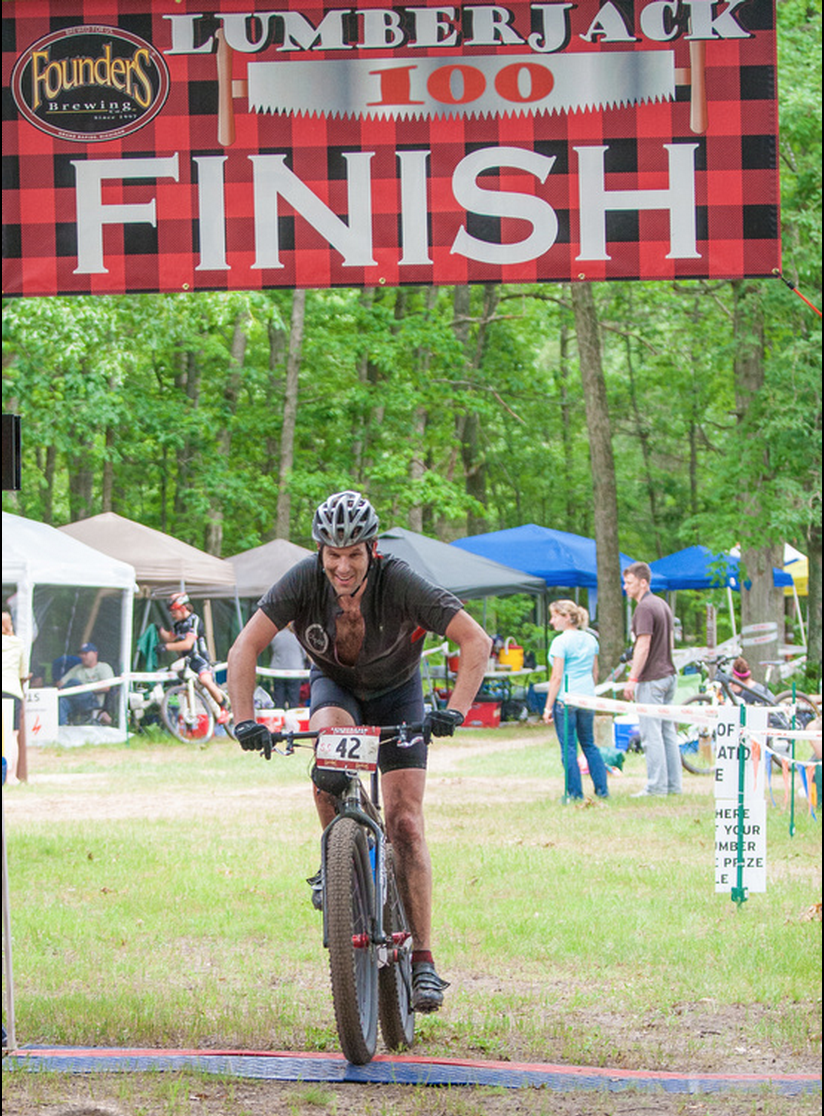
The Lumberjack 100
After two solid days of rain, race day dawned and we had amazing conditions. The race consists of three 33 mile loops and the first lap was pretty greasy and muddy. On the second and third laps the trails were perfectly manicured by the 900 wheels that had squeegeed the moisture out and bermed the corners. The 29er+ was a huge asset because I could go down the sweeping descents faster than any of the riders around me. I finished in 7:28 which was good for 7th in the SS division and 23rd overall so I was really stoked about my ride. Jorden Wakeley riding his Borealis with a 29er+ setup finished 2nd overall (less than a minute down on the winner). For only having two 29er+ setups in the race, the results display that they didn’t slow us down!
Closing
As of yet, there hasn’t been a lot of focus on using 29er+ for racing XC but there seems to be a great future for it on certain courses. On my local trails, the 29er+ feels like bike doping and I don’t see myself riding my 29er ever again. I still deploy the 26 fatty rubber for beach riding and rowdy ORV trails. However, traditional singletrack, cross country riding is just too much damned fun on the 29er+ to roll anything else. Until the rest of the bike world catches on to the 29er+ thing, be careful if you find yourself following a Judas Goat.
I recently switched to the same rims as you (35mm LB, 32 hole, UD matte) on a Salsa El Mariachi Ti and I’m amazed at how much nicer it is. There’s a marginal weight savings over the previous Arch EX-based wheels, but the wider tire profile is incredible. Here SE Michigan (Stony Creek area) we don’t have nearly the sand you all do, but on our mixed gravel/rocks/hardpack clay (with occasional sand) I too have that bike doping feeling. After getting tire pressure sorted out (this took a few rides) I feel like I’m riding faster than ever before with way, way more traction. Rolling resistance feels the same, or less.
I’m really fond of this setup and have been recommending it to everyone I know who is looking for new wheels.
That bike looks awesome and really well thought out! It might be an optical illusion, but it looks like the sliders are at an angle and not parallel to the ground. Also, do I spy some Vee 29+ tires on that beast?
Thanks! That is pretty weird how the sliders look in the picture, because they are parallel to the ground. Yes, Fat-Bike world headquarters hooked me up with a pair of Trax Fatties to review. Review should be posted soon.
Hey,
Nice writeup on those wheels.
Could you possibly give out a website or a number for those great carbon rims and possibly a price point?
I have a set of 2 niner wheels for my fatty but they are to narrow for the 29er plus tires….a set of stans no tubes rims…
Any recommendations for a good AL rim for cost considerations?
This is a wonderful concept and I am running Knard fat tires 26/3.8 on the KM forest trails and the bike is aok….
I am a little slow on this but this makes perfect sense for a “summer” fat bike set up.
Thanks
Nine
If you do a search for “Light Bicycle Rims” you can find lots of info out about them. I recommend doing some research before purchasing because the positive of this route (price) is obvious but importing them directly from the manufacturer is not the same things as buying them from a traditional retailer. There are benefits that come from buying from a retailer.
There are some good alloy rim options for 29er+ such as the Velocity Dually but the price isn’t much lower and the weight is a lot more (around 200g more per rim).
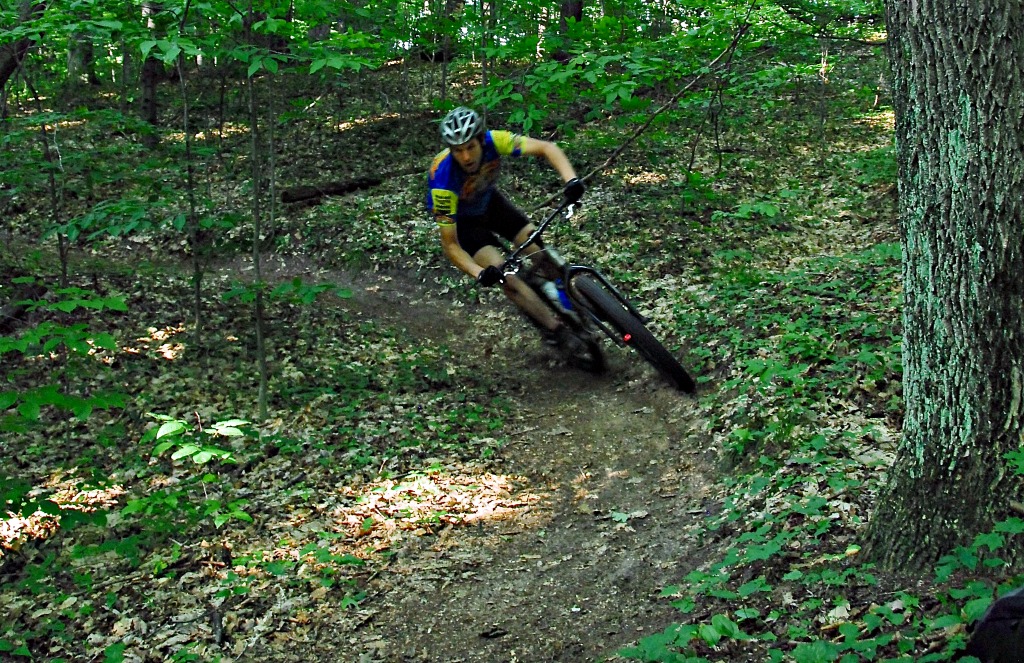
I’ve seen this bike throwing dirt like it had an engine. I was pedaling my butt off on downhills as Ken whipped this evil machine around trees, leaving us wondering where he disappeared to.
Hello Ken,
I really enjoyed the write-up! Very well done! I see you run rims that are quite narrow and you go on to say that on your trails 35 (outer dim) rims are fine for mounting up the Chupacabras… I am a 175 lb rider and ride here in southern WI and our trails are probably quite similar to yours up north. I would like to run the Easton Arc Plus rims and use the narrowest option, and that is 39 (outer diam) and 35 (inner diam). I plan on using the Chupacabras. Do you see any issues with this setup?
Thank you, and keep up the great work and reviews!!!
Nick
Nick,
Thanks for the kind words about the write-up.
I would think the Easton Arc plus 35’s with Chupacabra tires should be a great combo. Since doing that write-up I have ridden a fair amount with wider rims (40mm internal width) while switching back and forth with the 30mm rims in this write-up and can’t say I notice much of a difference other than the wider rims being heavier. The Easton rims look like an awesome new option so hopefully they will work well for you.
Thanks for the info, and see you down the trail!