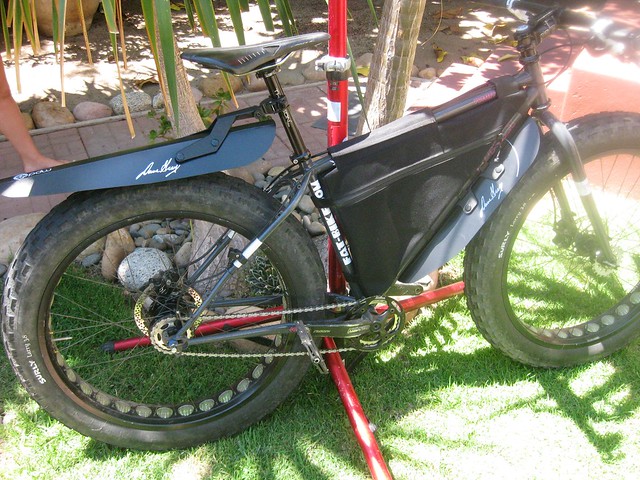
We’ve been riding The PDW Daves mud shovels all over creation out here on the west coast. from desert rides to Beach rides they have seen a bit of everything. (even a touch of mud) so its time to put together our final Impressions.
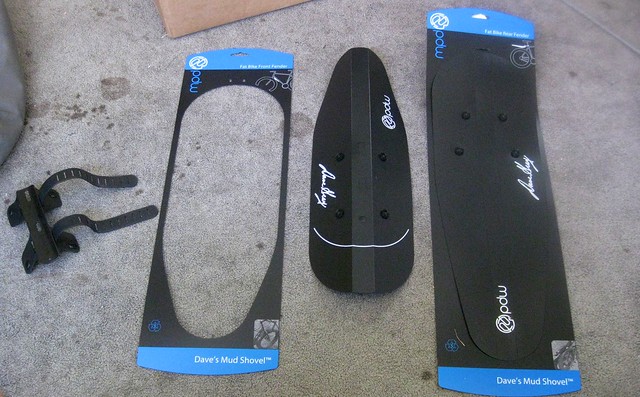
What – The mud shovels are a set of removable fenders designed with input from Surly rider Dave Grey, veteran of many a fatbike race. They come in a pretty cool space saving flat pack package. Basically the fender is the package and you punch it out and assemble it yourself. this takes about 10 minutes and is pretty awesome, less garbage to throw in the landfill and it gives you an excuse to crack a beer and put something together. (even if it is really easy to do)

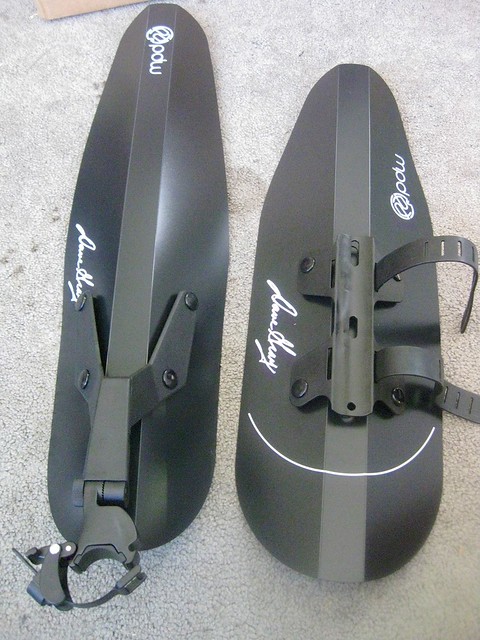
Installation – Takes about 5 minutes, 4 of those being sizing the straps for the front fender. I pulled mine tight and cut them one notch off where I had them secured. If you have multiple fat bikes with different diameter downtubes its probably best to size them for your largest one so you can swap the fenders around. The rear attaches with the same type of attachment as a commuter light (plastic band with a small lever to close it. however you get an allen key so you can really dial in the fit and get it quite snug.

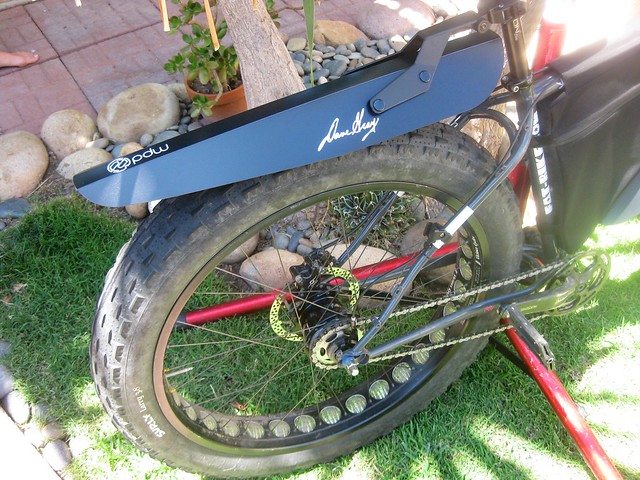
Ride Impressions – The bulk of the testing took place on miles and miles of sandy beaches, We took the fenders out for several beachrides to test their abilities They do exactly what a fender is supposed to do, keep all the grit and water off you and your bike, this is especially important in a saltwater environment where corrosion can really mess up your bike. The rear is long enough to keep the spray off your back which is a major shortcoming of almost every clip on fender I have ever used, they are also wide enough to cover a Larry on 80mm rims no problem. the only issue I really had with the rear was in situations where you have to remount the bike by swinging your leg over the rear tire, you have to be carefull not to catch the fender with your leg since it is so long. However the worst thing you will do is pivot the fender slightly off center which takes about 2 seconds to fix so it’s not a huge issue.

The front fender though is really my favorite of the two, I really only install the rear when im planning on hitting the beach however I keep the front installed all the time. I love it because it keeps all the grit and dust off your legs. Fat tires tend to fling a constant stream of junk up off the trail and the front fender keeps this stuff off of you. Its shaped so that its long enough to protect your legs and feet but also keep out of the way of your pedal stroke. I’ve never had a situation where the fender got in the way including the installation of my frame bag so I pretty much just set it and forget it, which in my opinion is exactly what fenders should do. No rattling, no rubbing on the tires or frame, no messing about.
Final Thoughts – At under $50 for the pair these guys are great to have for wet muddy rides, they do a good job of keeping the earth off of you and dont interfere with your ride. The mounts are solid and well thought out, the fenders didn’t slip or move around in any way. (other than when I kicked the rear a few times when remounting) These are a great option for someone not looking for the full time fender look on their bike since they install in just a minute or two once you get the straps for the front and cam for the rear dialed in.
For more information about Portland Design Works visit – http://www.ridepdw.com/

I just got a set for my 09 Pugsley. They work splendid. I don’t avoid puddles anymore when I commute to work on my bike.
I’ve been using these fenders for the last 2 months here in Anchorage, AK during a very wet September and in the early October snows on the local singletrack and x-country ski trails.
I was skeptical at first, and remain so, at the long term durability of the fender especially in subzero temps, ice accumulation, and impact resistance. Time will tell. Installation was easy and intuitive. On my Medium 9:zero:7 the front fender did not fit between the fork and bottle cage and required some trimming. Small frame owners should plan on trimming the fender slightly or drilling new access holes for your frame mounts if using those mounts.
As far as performance goes the rear fender performed as expected. My dorsal parts stayed dry despite the muddy trails and deep wide puddles. Coverage stopped approximately halfway down the seat-tube leaving my calves and feet exposed to crud. As far as the front fender goes, upper coverage was adequate as long as the fender was positioned flush with the fork/headset. Lower coverage was less than adequate as my feet and shins were soaked when down. By removing my bottle cage and repositioning lower, more coverage would have been provided even while accounting for toe-fender-chainring strikes.
If I were to add anything it would be another rear fender that paralleled the seat tube providing additional rear protection. If these survive the winter I’d happily recommend them.
Do you mind sharing what you’ve since done? I currently have empty 2L pop bottles as fenders, and my biggest worry is the seat tube and crank areas. How did PDRs hold up for you?
These look like a wonderfully simple protection from all the shit that big tires can send towards the skies. I especially like the flat packaging– nice touch Dave!
I made some of my own fenders from corruplast and discarded fender hardware before anything was available (to my satisfaction at least). It required several hours of fabrication, but I just wanted to share that it has held up to lots of riding and mountain biking, and provides coverage in some of the areas that modular fenders cannot. It is possible to enjoy a fatbike and emerge without grit between the teeth!
nicholas