Editor’s Note: We solicited ideas from the ranks of the bike black ribbon test pilots and we’ve posted quite a few of their suggested topics here over the last couple of months. We actually had two of our testers step up to the plate to explain how to set your regular normal fat-bike up with drop bars. So here’s a double dose of drop bar tips & techniques written by Seth & JP.
Drop Bars Not Bombs – By Seth Bell
Building up a fat-bike with drop bars… it’s kind of like putting potato chips on a sandwich; many folks have never even considered it, some have thought about it, but few have actually tried it out. While I prefer the chips next to my sandwiches, I can provide some compelling reasons to try some drop bars on your fatty and tips on set-up.
Here at Fat-bike.com, we toss around the term “4 Season Fat-bikes” quite a bit, and those three seasons that aren’t Winter are where a drop bar fatty can really shine. Long gravel/multi-surface rides, bike packing trips, forest service or fire road exploration, commuting and even mountain biking can be great uses for a dropped fat-bike. With the proliferation of “alternative” handlebars like Jones, Surly Moloko, etc., there’s an obvious need/want from riders for more than one place to put their hands. A nice set of drop bars and levers give you three to five hand positions and an opportunity to get lower in a nasty headwind. If you’re not into getting all low and aero, fear not… most fat-bikes have fairly high front ends, so adding drop bars will not automatically make you bent over like a professional road racer.

Some things to consider when building or converting a fat-bike to a drop bar set-up:
Handlebar, stem, and fit: Most flat bars are fairly wide, so a wide drop bar usually seems appropriate. My favorite is Salsa’s 46cm wide Cowbell handlebar, which seems to be a hit with many drop bar converts; Salsa’s 46cm Cowchipper bar is a close second. Wider bars can also lend to feeling more stable when the going gets Western. If you’re super petite, ride an extra-small frame, etc., you obviously don’t want the widest bars you can find. In almost every case a shorter stem will be in order, as fat-bikes have longer effective top tubes than bikes designed around drop bars. A stop to your closest friendly bike shop isn’t a bad idea to help select the pieces and sizes that are right for you and your bike.
Brakes, levers and shifters: If using mechanical brakes, this is a bit easier. My pick for brake levers are TRP’s RRL drop bar levers, which pair up ohhhh so nicely with their Spyre mechanical brakes (make sure to use compressionless housing). TRP’s HYRD cable actuated hydro calipers work well also, and Paul makes a Klamper brake with the appropriate cable arm length for drop lever use. With simplicity and a budget in mind, I opt for old-school bar-end shifters; whatever you can find that’s compatible with your derailleur. Options are out there from Sram, Shimano and MicroShift. This is also an opportunity to ditch the front shifter and derailleur altogether and convert to a single front chainring if your rig originally had a double…or just go single speed and forget those shifters and derailleurs completely. Of course, the sky’s the limit with what you choose to do here… Di2 or E-tap anyone?
I’ll share my three drop bar equipped fattys with y’all to see some examples.
Sherman: My first fat-bike and also the first fat-bike I’ve ever built. This bike started life as a flat bar with a 2×8 set-up with friction shifters. After being rebuilt three different times and used as my gravel, mountain and snow bike, some new bikes were added to the quiver and Sherman was stripped down to the frame and stuck in a corner. I eventually acquired enough (mostly used) spare parts and rebuilt Sherman as a drop bar single speed for commuting duties and the occasional gravel ramble. I used TRP’s HYRD brakes on this eventually, as the heavy ass wheels and winter use made my old BB7’s squeal and gobble for help.
Stuart: Also started life as a flat bar Pugsley; the second fat-bike I’d ever built. This is also the first fat-bike I’d ever converted to drop bars, and was done with as few new parts as possible. TRP RRL levers on Cowbell handlebars with Shimano bar-end shifters to control the original 2×8-speed transmission. This bike originally had Avid BB7’s that were later replaced with TRP Spyres. This old boy used to belong to my Mom and has thousands of gravel miles on it. I use it mostly in the Spring or in the rain when the gravels are super nasty and I don’t want to get all that gross stuff on my newer drivetrain bits.
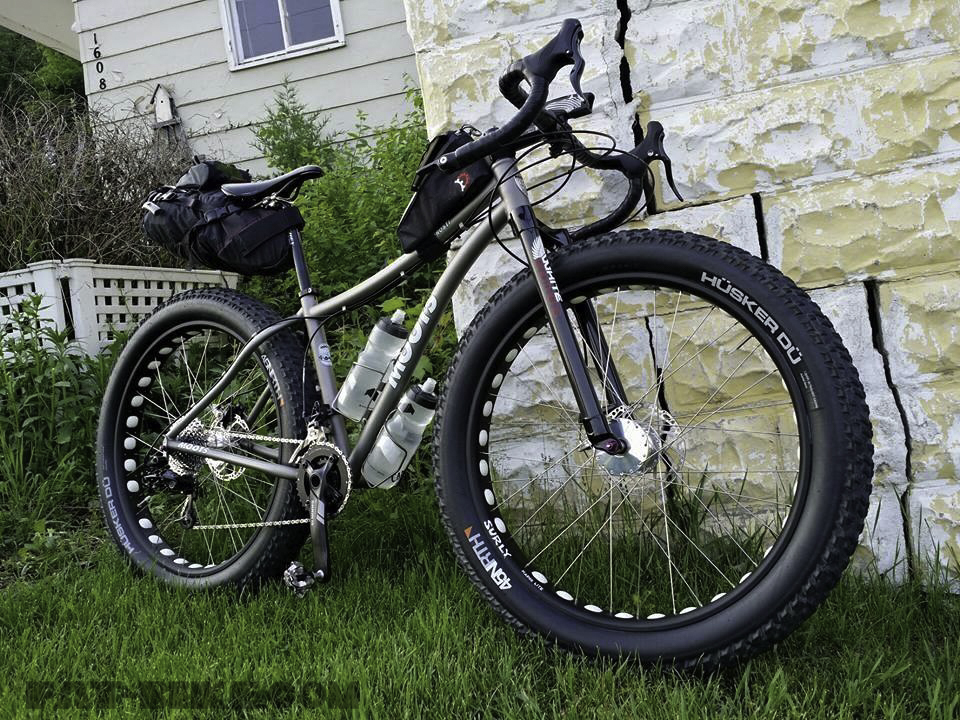
Frosti: This bike was originally built for my Mom from the frame up as an upgrade from Stuart, and was spared no fancy bits. Between the silky smooth ride of Colorado Springs titanium and the vibration sucking White Brothers fork, this bike is my go-to for long gravel miles. North Iowa gravel is supremely fresh, extra chunky quarry rock and I feel like I’m getting bounced all over the place on tires as big as 29×2.4. Frosti comfortably crushes gravel and by far does the best at keeping my nerve-damaged hands from going numb, especially after adding Terravail’s fast rolling and supple Coronado tires this year. Ultra polished and rare-as-Unicorn-tears Phil Wood fat hubs and Marge Lites handle rolling duties. A Sram 2×10 drivetrain (again with bar-end shifters) keep the gears a-changin’. Cowbells, TRP levers and brakes once again round out the rest. Frosti is slated for a one-by conversion, new carbon Cowbells and fresh bar tape just as soon as the new chainring comes in.
There you have it, friends. If you’ve got the itch to tinker, try something new, or have a second fat-bike that you’d like to make different from the other, I hope this gave you some inspiration to try fat life behind drop bars! Thanks for reading, and happy trails!
SB.
Drop Bars Not Bombs by JP
I’m in the relentless pursuit of the perfect bike. For me versatility is important. If a bike can’t change and adapt to different terrain or conditions, I wouldn’t buy it. I spend a lot of time picking out bikes that work well in multiple settings. I like changing my bikes around, maybe a bit too much. I like experimenting and trying different things. I know the quiver killer of all bikes is out there for me.
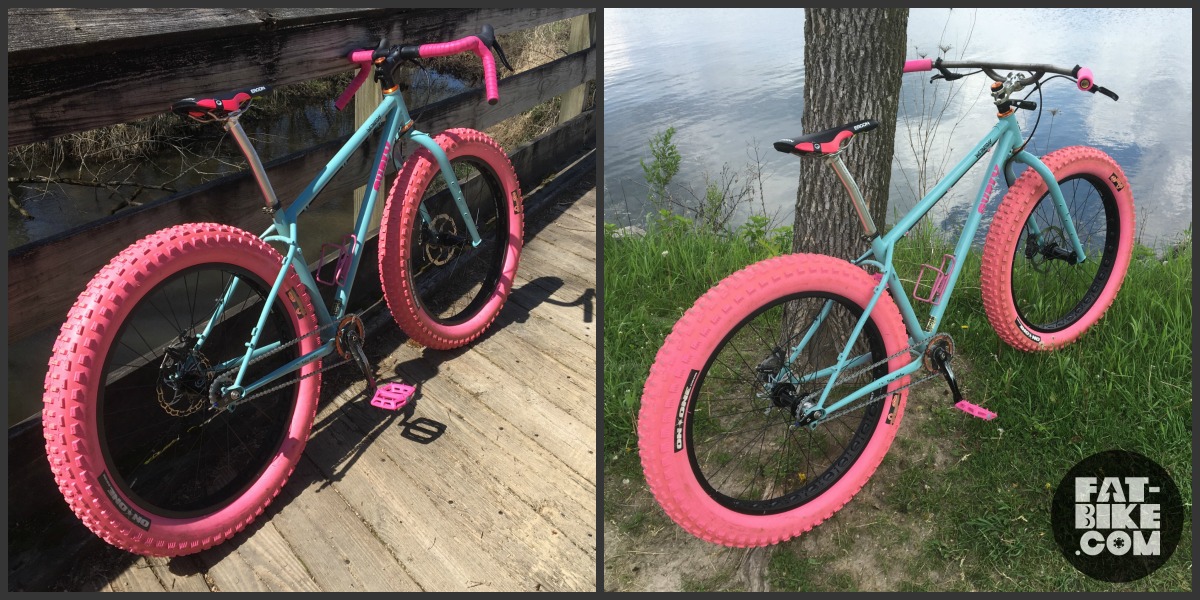
In my opinion, one of the most underrated bikes out there is the Surly Wednesday. I chose this bike over many others because it has a lot of variety for drive train set up. I have this love-hate relationship with derailleurs. Sometimes I love them. Other times, I want to yank them off and stomped them into the ground. The Wednesday has a great horizontal dropout with a dedicated Snugnut to stop slippage when hammering on the pedals. But you can also ride it geared if that’s your thing. But one of the coolest features is that the Wednesday has a short top tube so I can switch between flat bars and drop bars. Yes, drop bars on a fat bike can exist, and even be enjoyable.
I love having the ability to switch between flat bars and drop bars, especially when heading to more single-track specific areas. Drop bars are convenient for long gravel rides and bike packing. There are lots of hand positions available and my hands rarely go numb.
There are a few things to consider when switching handlebars around like this. You will more than likely need two different length stems. You also need some wiggle room on your steer tube. You may even need to adjust your seat position. Typically when I switch from flat bars to drop bars, I need to raise the stem 10mm higher on the steer tube and have a shorter stem on the drop bar set up.

After a few years of refinement, my cockpit setup is pretty snazzy. I switch between a set of 820mm steel Oddity Cycles Razor Bars and a set of 42cm aluminum Salsa Woodchipper 2 bars. I have a 90mm stem on the Oddity bars and a 70mm stem on the Woodchipper bars to make switching fast and easy.
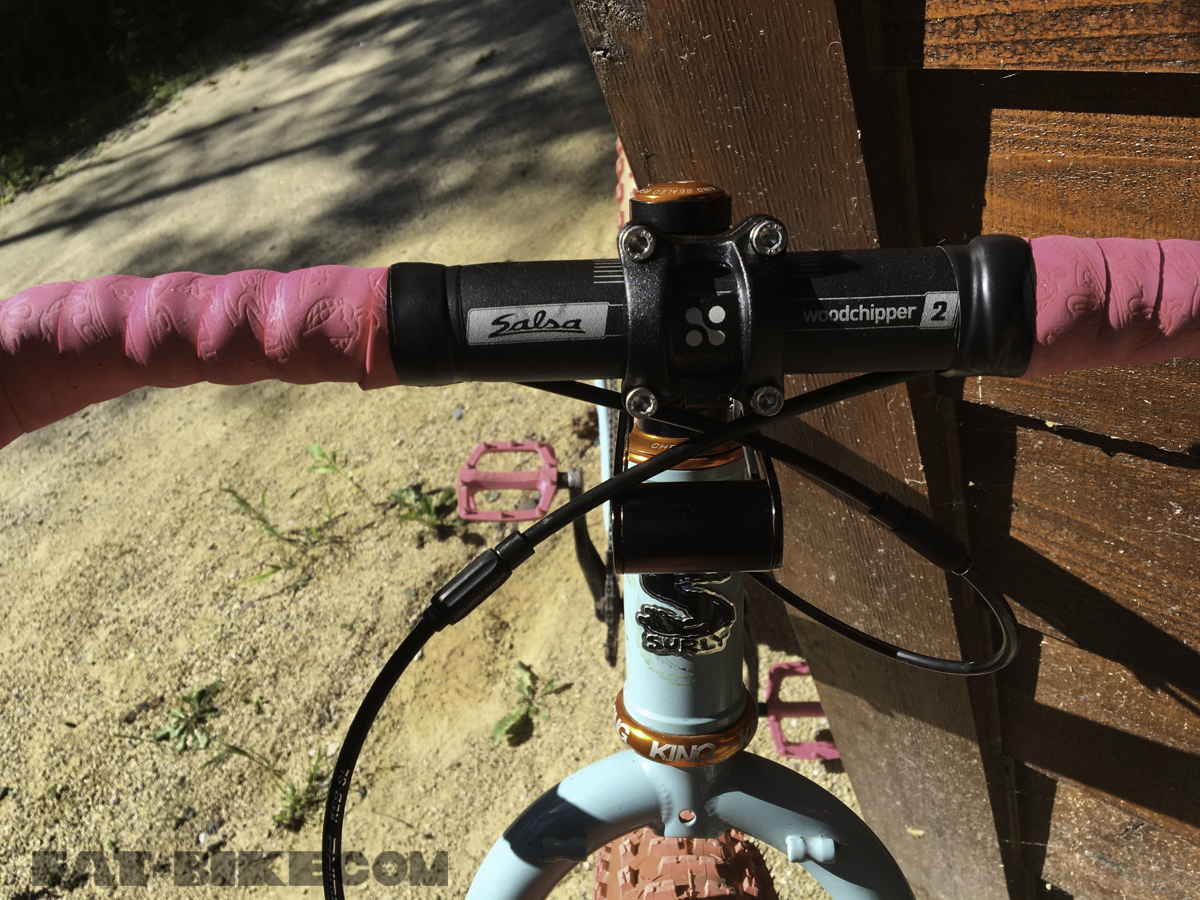
I like the feel of the big splayed out flares on the Woodchippers. I prefer the narrower 42cm bars to the 44cm or 46cm because the wider drop bars seem to hurt my shoulders during long rides. Everyone is different so I suggest experimenting with the length of bars to achieve the best fit for you.
The 2 modified cockpits are pretty easy to move around and change. This is actually a lot easier if you ride Single Speed. I just use some standard Sram S-500 brake levers with some Pink Salsa tape. It is a bit trickier if you have to unwrap your bar tape and change gears and levers, re rewrap. But, it can be done.
On both sets of my handlebars, I have two small lengths of compression-less cable that I have cut to fit for each system. These are attached and never need to be modified again. On the bike itself, I have a set of Jagwire inline cable adjusters. Those never need to come off or changed. I can leave on my TRP Spyke brake calipers and compression-less brake cables on the bike at all times. When I want to swap out bars, all I have to do is cut the brake cables by the crimped ends, loosen the caliper bolts and pull off the whole system. The small lengths of cut cables will stay attached to each handlebar system. I then take the Woodchipper system and move the 10mm spacer down to place the bars 10mm higher on the steer tube. Since the cables are already cut to the correct length, I just need to attach them to the Inline adjuster connections, and run new brake cables through them, adjust the brake calipers, snip, crimp and go. Most of the time I can reuse the rear brake cable and place it to the front system. Then I only have to replace the rear cable. Easy-peazy.
It usually takes me about 5 minutes to swap between the two systems. I give mad props out to Jeff Leonard at Trail This in Mount Horeb, Wi for his help with this system. He is the one who helped me figure it out to make sure it works properly every time. It always pays to know a good wrench.
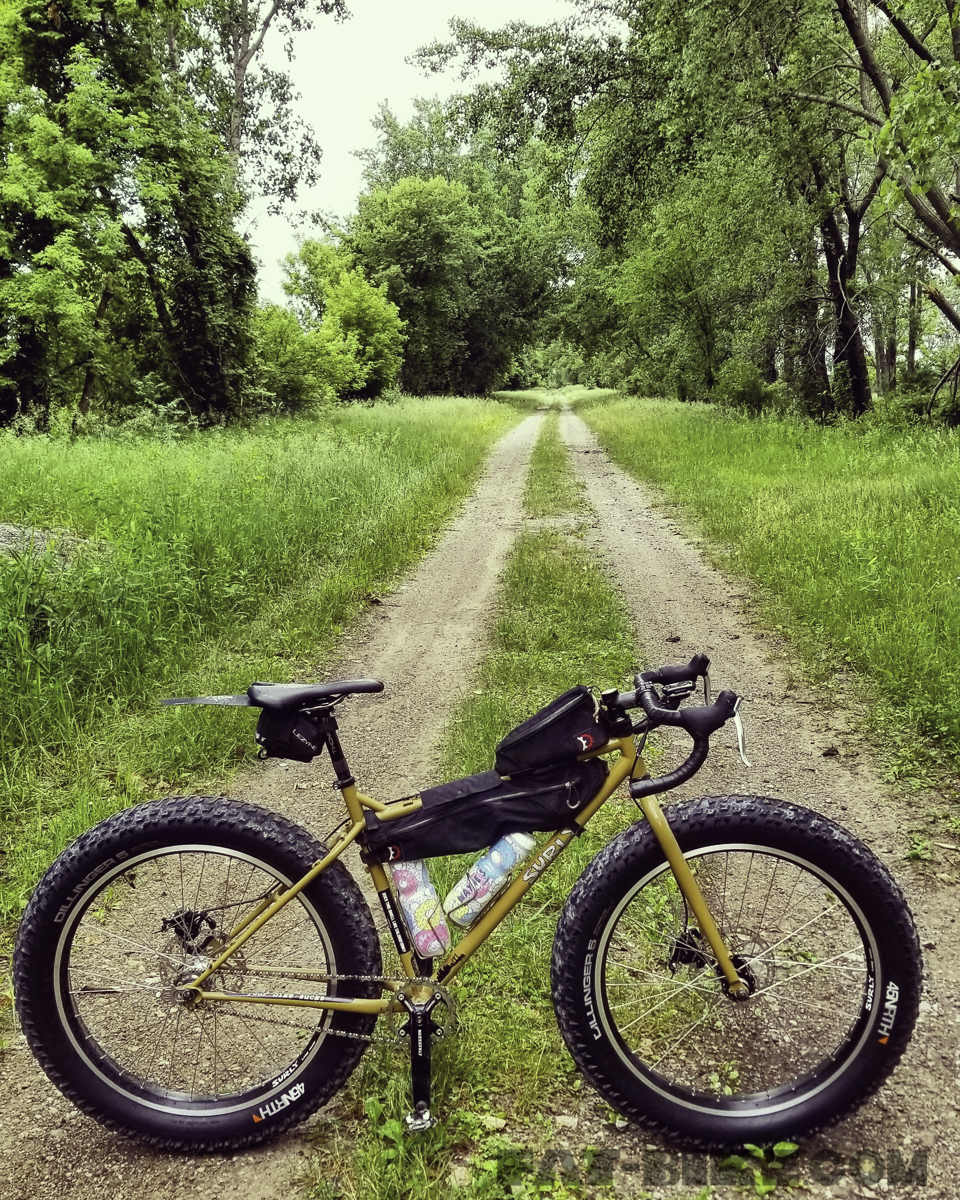
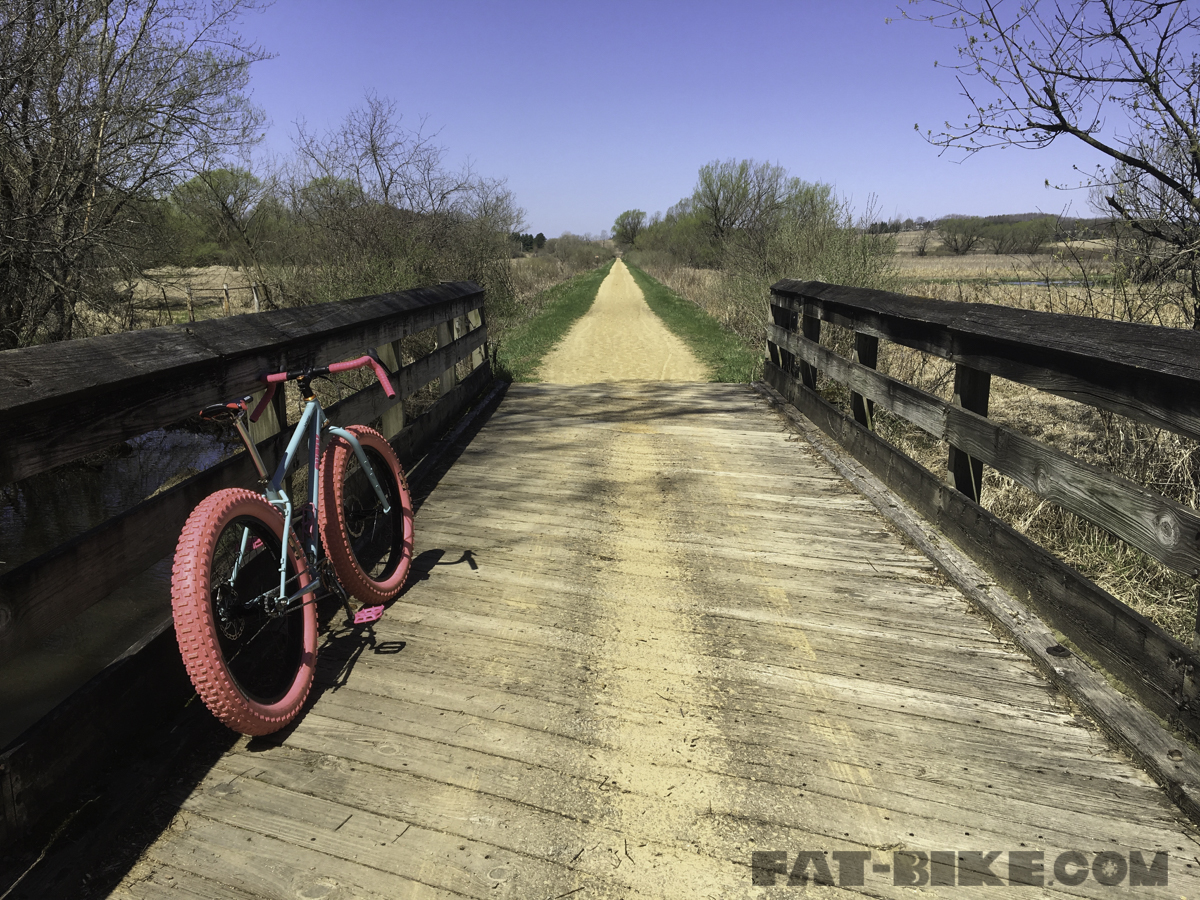
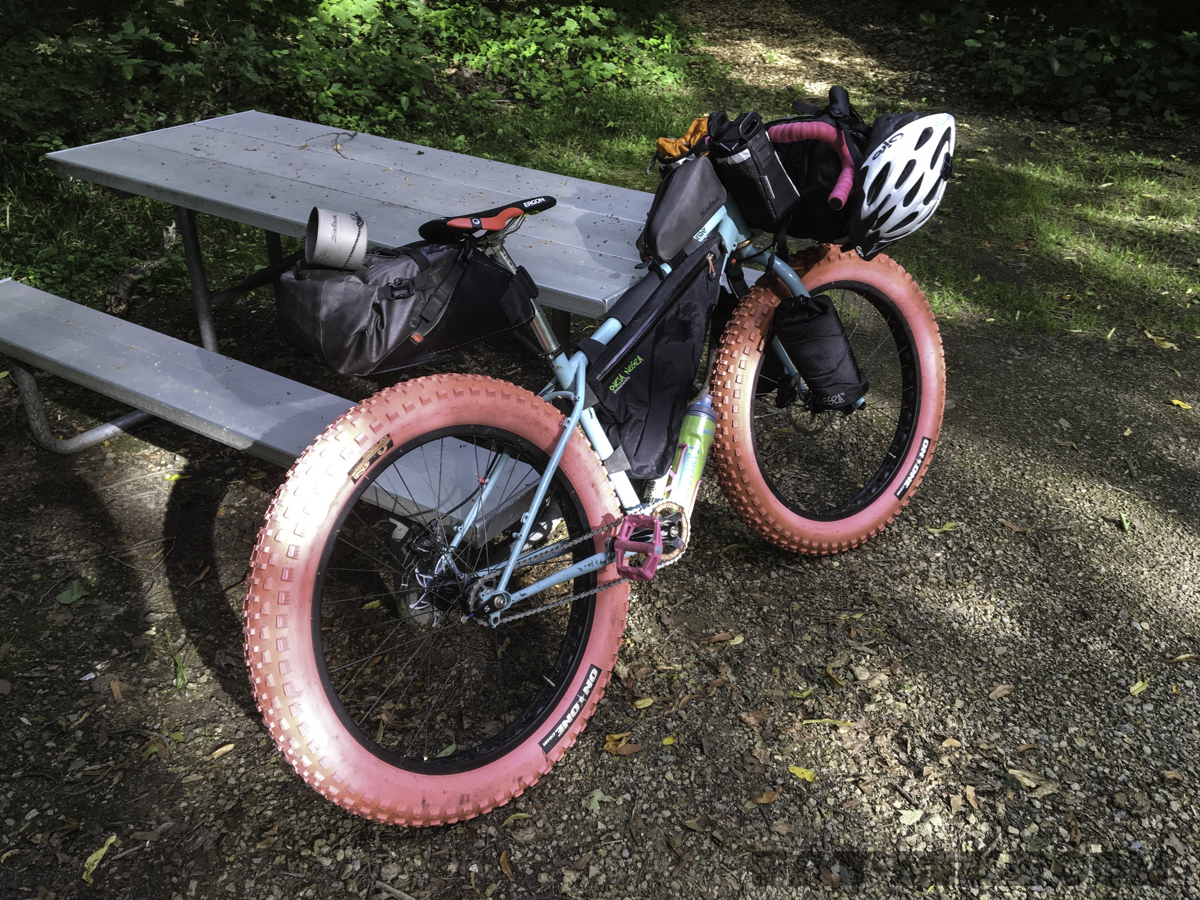
“Cotton Candy in her Natural Habitat. Pit Stop at a trail bar”
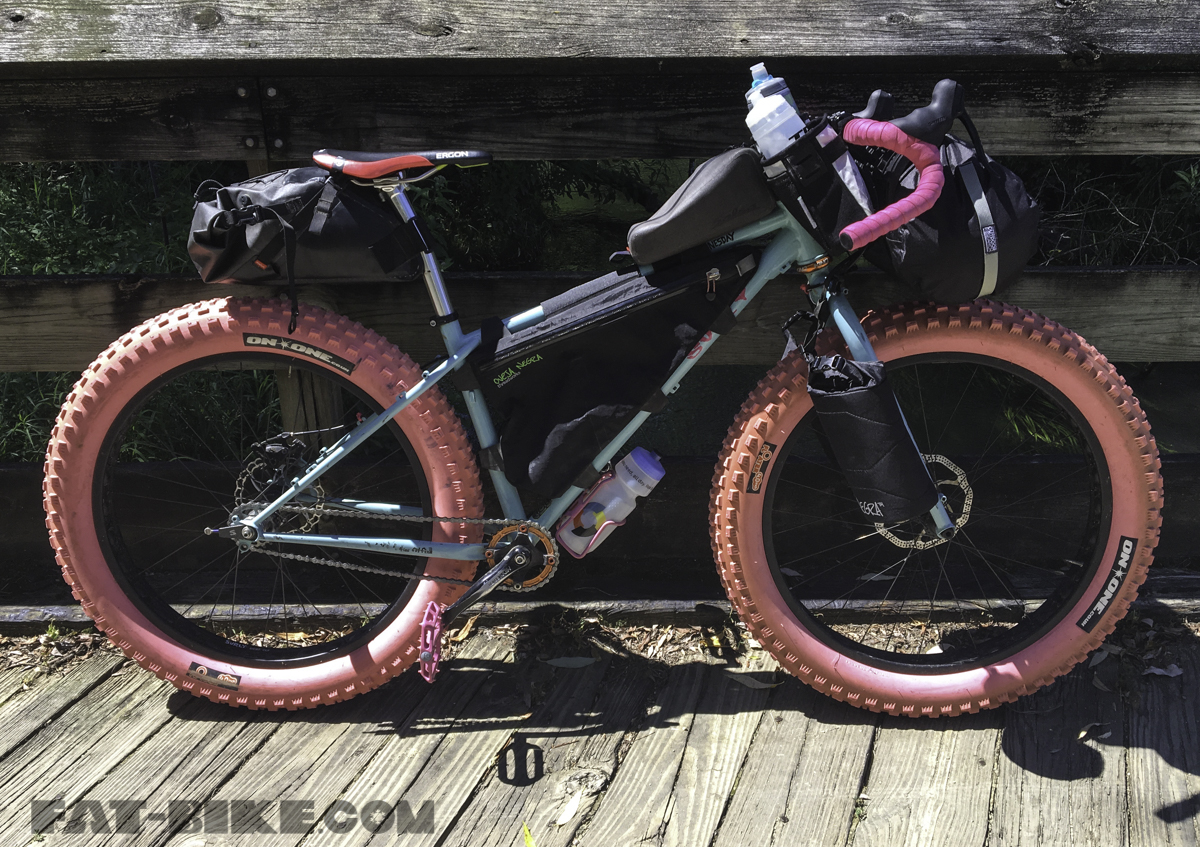
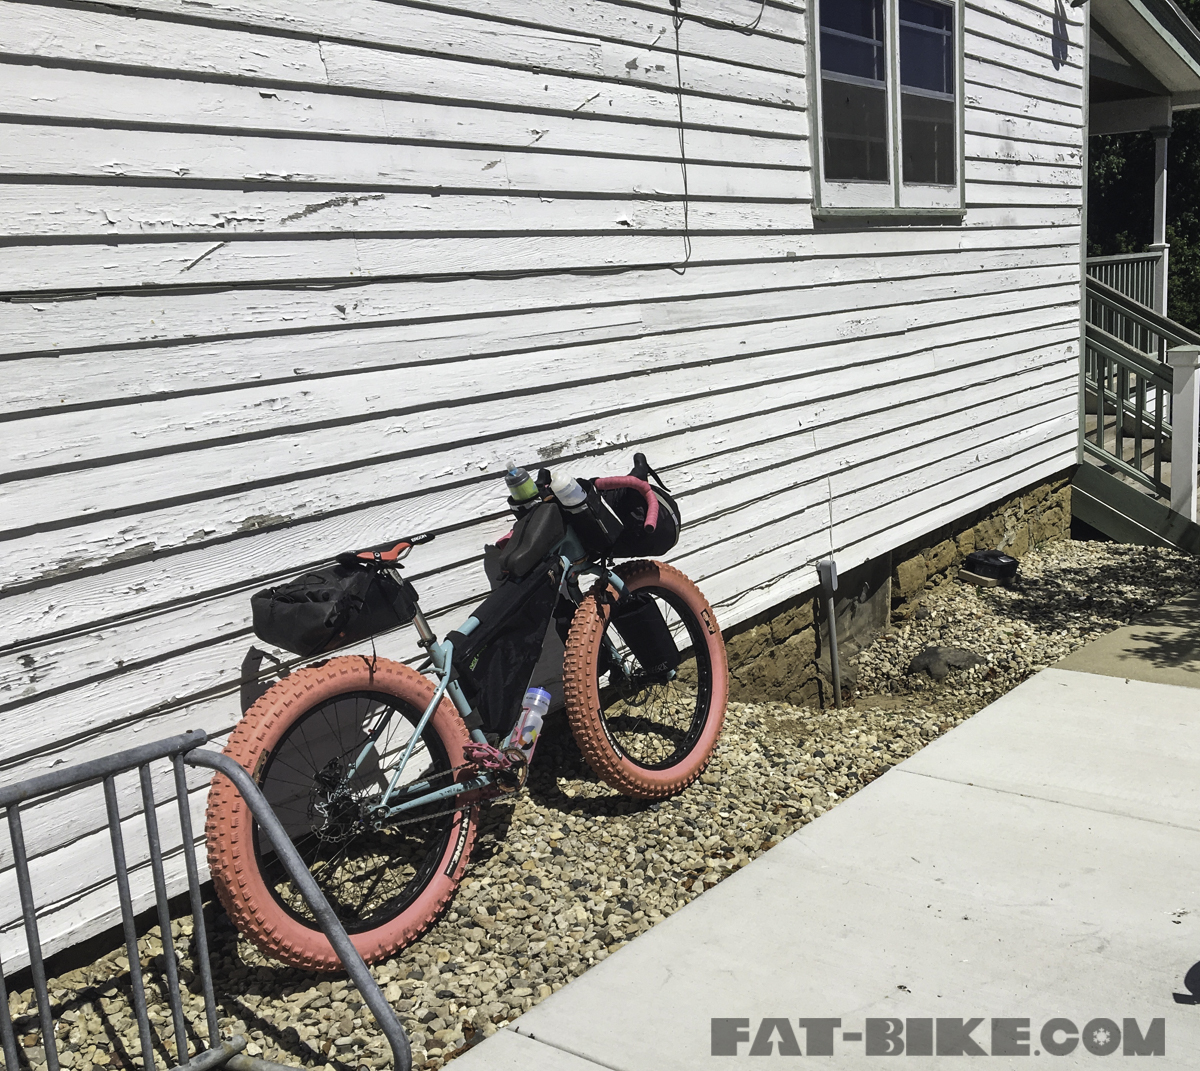
Why would you want to do this for your rig? Because you can! It just takes a little bit of patience to find the right stack height for you. The main reason I do it is for comfort for long rides and bike packing. The added benefit is that I can cram a lot of stuff on the drop bars. I use a Salsa Anything Cradle up front, two Oveja Negra Chuckbuckets, bell, and a light. This system feels nice and compact for me, especially when running all of these bags on the drop bar setup. I think it helps that the Woodchipper bars flare out more also to make room for the bags. They create a more natural hand position while riding. There are limitations, of course, drop bars that are fully loaded with gear are hard to manage in single- track technical sections. But for the most part, I only switch them around when I know I will be grinding the gravel.
Ride hard and drop bar on! – JP
Awesome! When I first got my Karate Monkey I would switch between a flat bar and drop bars all the time. The Jagwire inline cable adjusters are a huge help! Great tag team write up!!!
Nice setup. Not considered myself. Thx for sharing.
Excellent write up. And very informative. I’m looking to do something very similar with my Krampus.
Thanks for sharing!
This is really a good set up / review. I’d like to ask how’s your control when you used it on trails? Is there a big difference in control between straight bar vs drop bar?
Thank you.
Considering a similar setup for my All City Gorilla Monsoon, already have a 27.5 mtb wheelset and a 700c gravel wheelset. Having a dual cockpit setup would complete the modularity of the bike. A thought i had was to leave the cables a bit long so you could still reuse them at least a second time when cutting off the crimps. But i imagine you thought of that.